OpenCUI workflow
OpenCUI comes with a version control system that is similar to Git. It is designed for structured definition and to manage the complex interaction between different views (structure and language) and different branches (personal and master) across modules and chatbots effectively. If you have used Git in your development, this process should be very familiar to you.
OpenCUI workflow is a branch-based workflow. After you tested your changes, it's important to ask project owner to review your changes and ensure they meet the chatbot's features and quality standards, by opening a pull request and comparing the changes across your branch. Once your change is approved, you can merge them into the master. For more information on working with branch and reviewing changes, please refer to the Version control section.
Before you start
To follow OpenCUI flow, you will need to log into OpenCUI platform. Make sure to complete the steps outlined in the Build a chatbot guide. The steps in this guide build upon the chatbot created in the previous guide.
Always in your branch
When you start building a project, such as creating a type, adding or modifying an instance, a branch is automatically created for you based on the current master. This gives you a space to work on your changes without affecting the master. You can work on your changes in isolation from the changes that other people are making. Additionally, creating a branch gives your collaborators a chance to review your changes before you merge them into the master. In OpenCUI, you can only have one active branch per project.
Propagate the changes to language view
When you start building a project that includes language-specific parts, such as chatbots and modules, OpenCUI can help you create a consistent experience across all languages by propagating changes. This means that you don't need to duplicate your work or repeat the process for each language which makes it easy to create and maintain language-specific parts.
You can simply define the schema layer and interaction layer data you need in the structure view, and then propagate those changes to all of the language views. This will ensure that all of your language-specific parts are always in sync and that you don't have to waste time duplicating your work, you can simply fill in the blanks with the appropriate language.
To propagate the changes to language view:
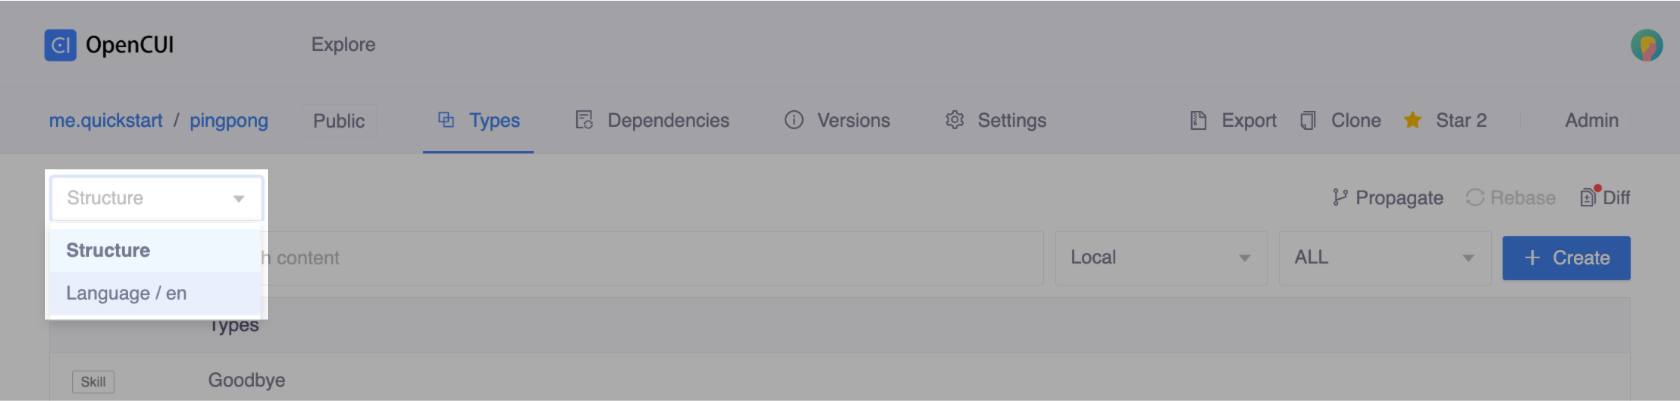
In the Structure view, click Propagate in the upper-right corner of the Types area.

Once you have propagated the changes to the language view, you can switch to the specific language in the Language Selector. Then, you can fill in the blanks with different languages.
Commit the changes
In your branch, you can make any desired changes to the project, such as the changes in Build a chatbot guide. If you make a mistake, you can undo your changes or revert to your latest commit. Your changes will not be added to the master branch until you merge your branch. To test your change using OpenCUI Debug tool, you need to commit the change first.

Create a pull request
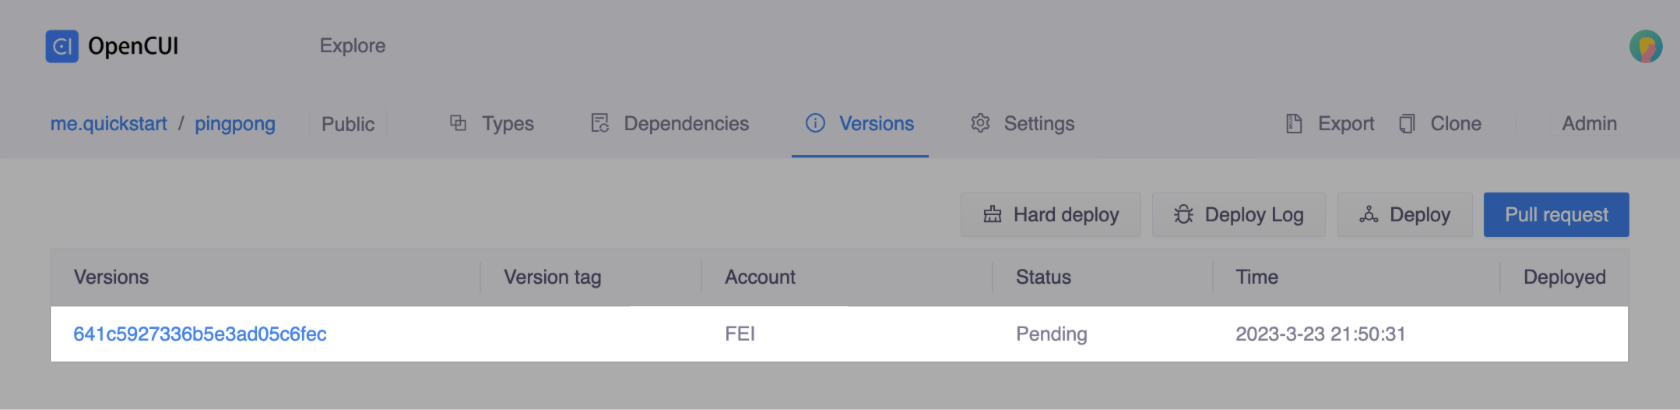
Once you're ready to share your work, you can create a pull request to get feedback on your changes from your collaborators. Pull requests show the changes you made in your branch compared to the master branch, which indicates that you're ready to merge your changes into the master branch.
To create a pull request:
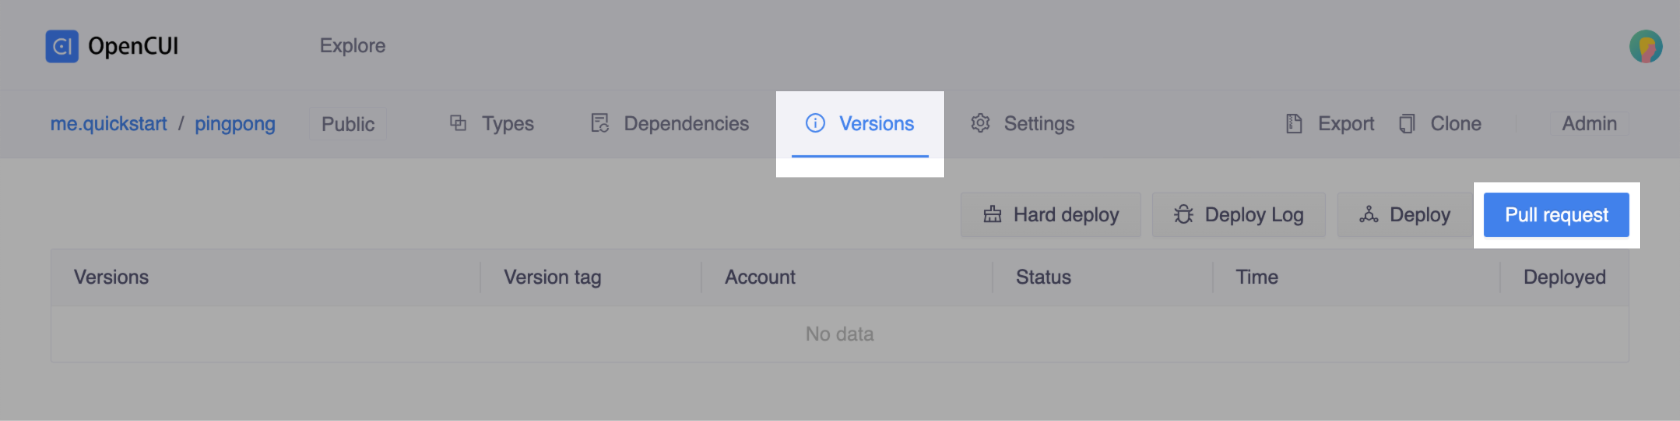
- In the navigation bar, select the Versions tab.
- Click Pull request in the upper-right corner of the Versions area.
Review and merge pull request
Collaborators can review pull request and submit reviews by marking Approve or Close.
To review changes:
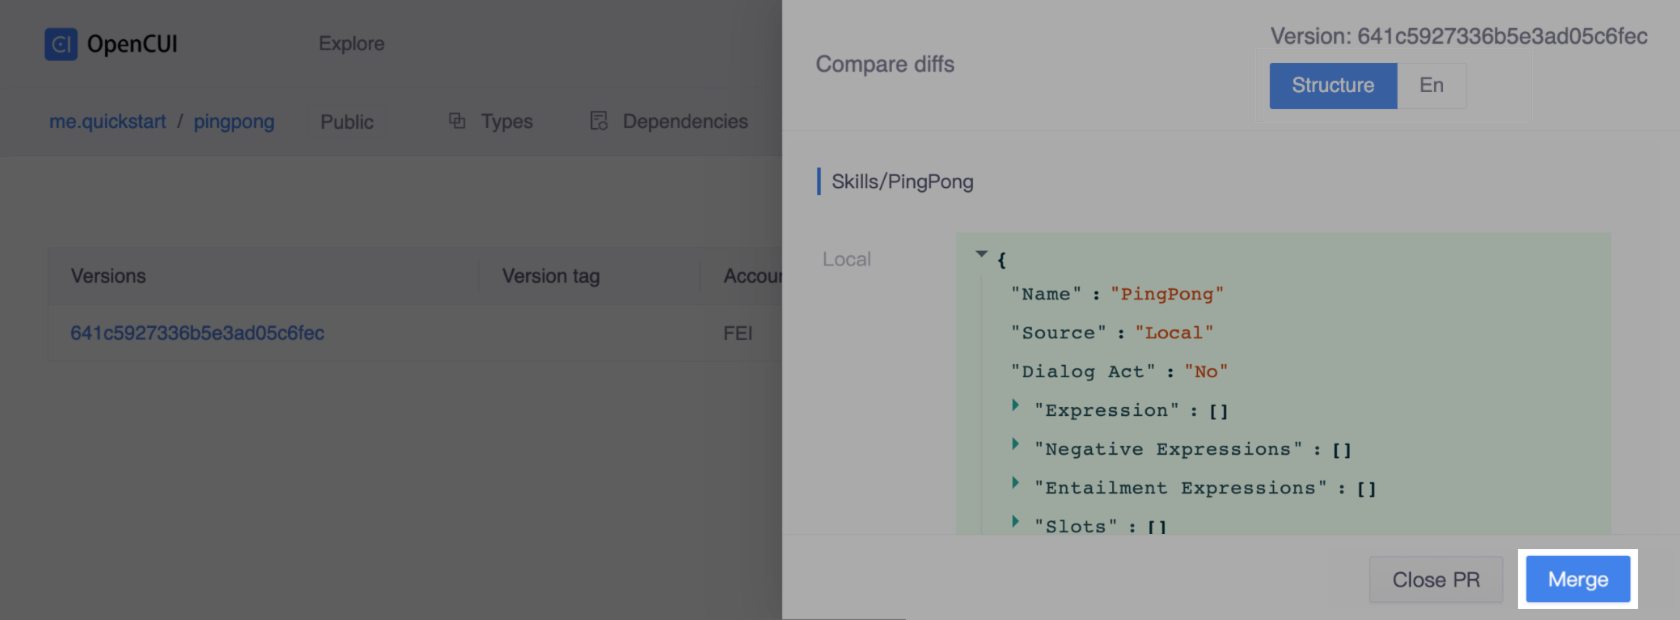
Click the item you want to review, and Compare diffs field will slide out.
In the Compare diffs drawer, make sure all the changes are what you want. You can switch between different layers from the topbar.
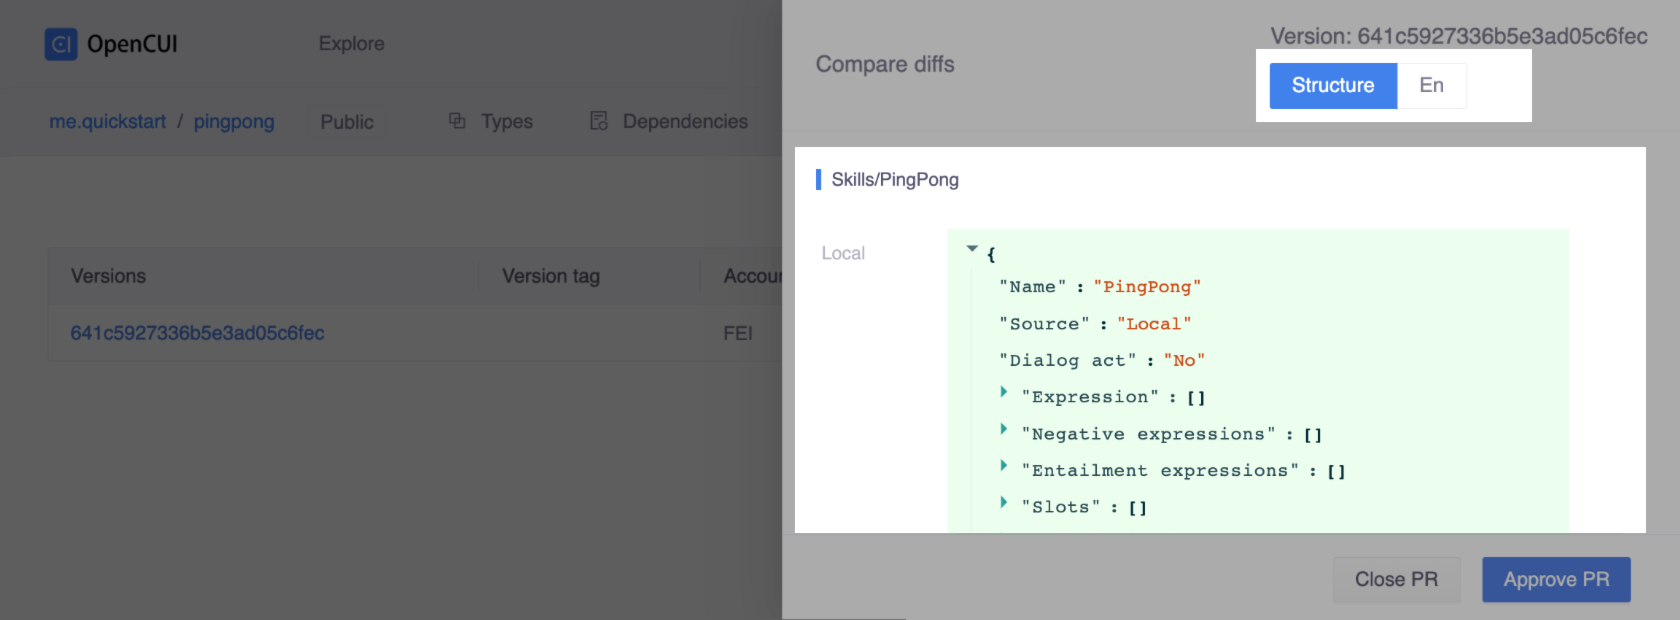
Once you're satisfied with the changes, you can Approve them.
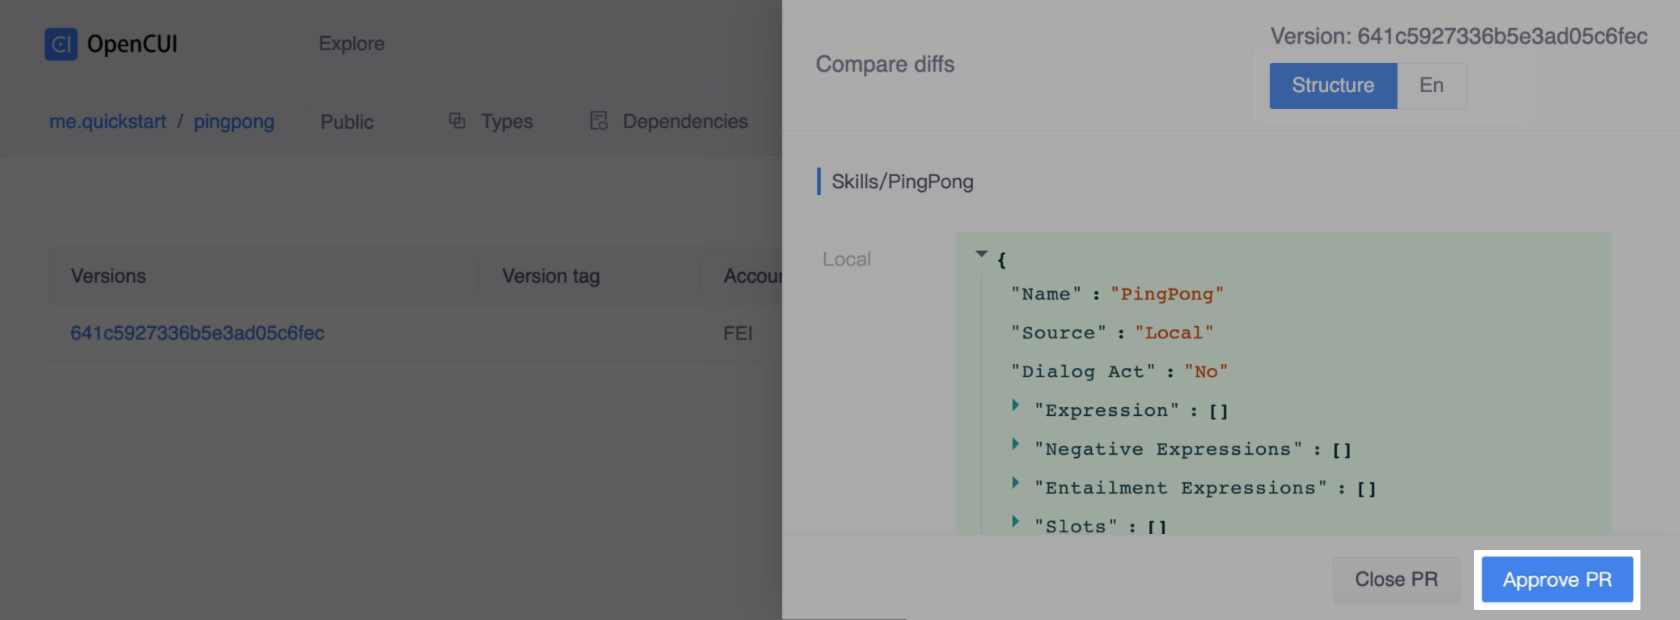
Once the pull request is approved, you can Merge this pull request. OpenCUI will tell you if your pull request has conflicts that must be resolved before merging. For more information, see Resolve Merge Conflict.