Native provider
Native providers are crucial to OpenCUI chatbots, they provide the implementation to system interface like channel and support, as well as application interface or services like payments.
With the help of native providers, you can easily use extension services provided by OpenCUI or other orgs, and you can even efficiently develop new services for yourself or other builders. The process of building and wiring native provider is as following, assuming that you want to use OpenCUI platform to define the conversational user interface frontend. You can potentially use OpenCUI runtime to develop chatbot without using OpenCUI platform, it is certainly possible, but is not covered here.
Build native provider
As we know before, provider provides the implementation of service interface. But unlike other providers, the implementation of native provider is defined outside the platform. Therefore, when registering a native provider, you need to declare whether its source is accessible to OpenCUI or not.
These native provider can be registered as private deployment, in which case, you do not need to make its source available to OpenCUI platform. A chatbot that relies on even one private deploy provider can NOT be hosted by OpenCUI, instead you need export the generated kotlin project, and build and deploy it per their devops rules.
1. Create native provider
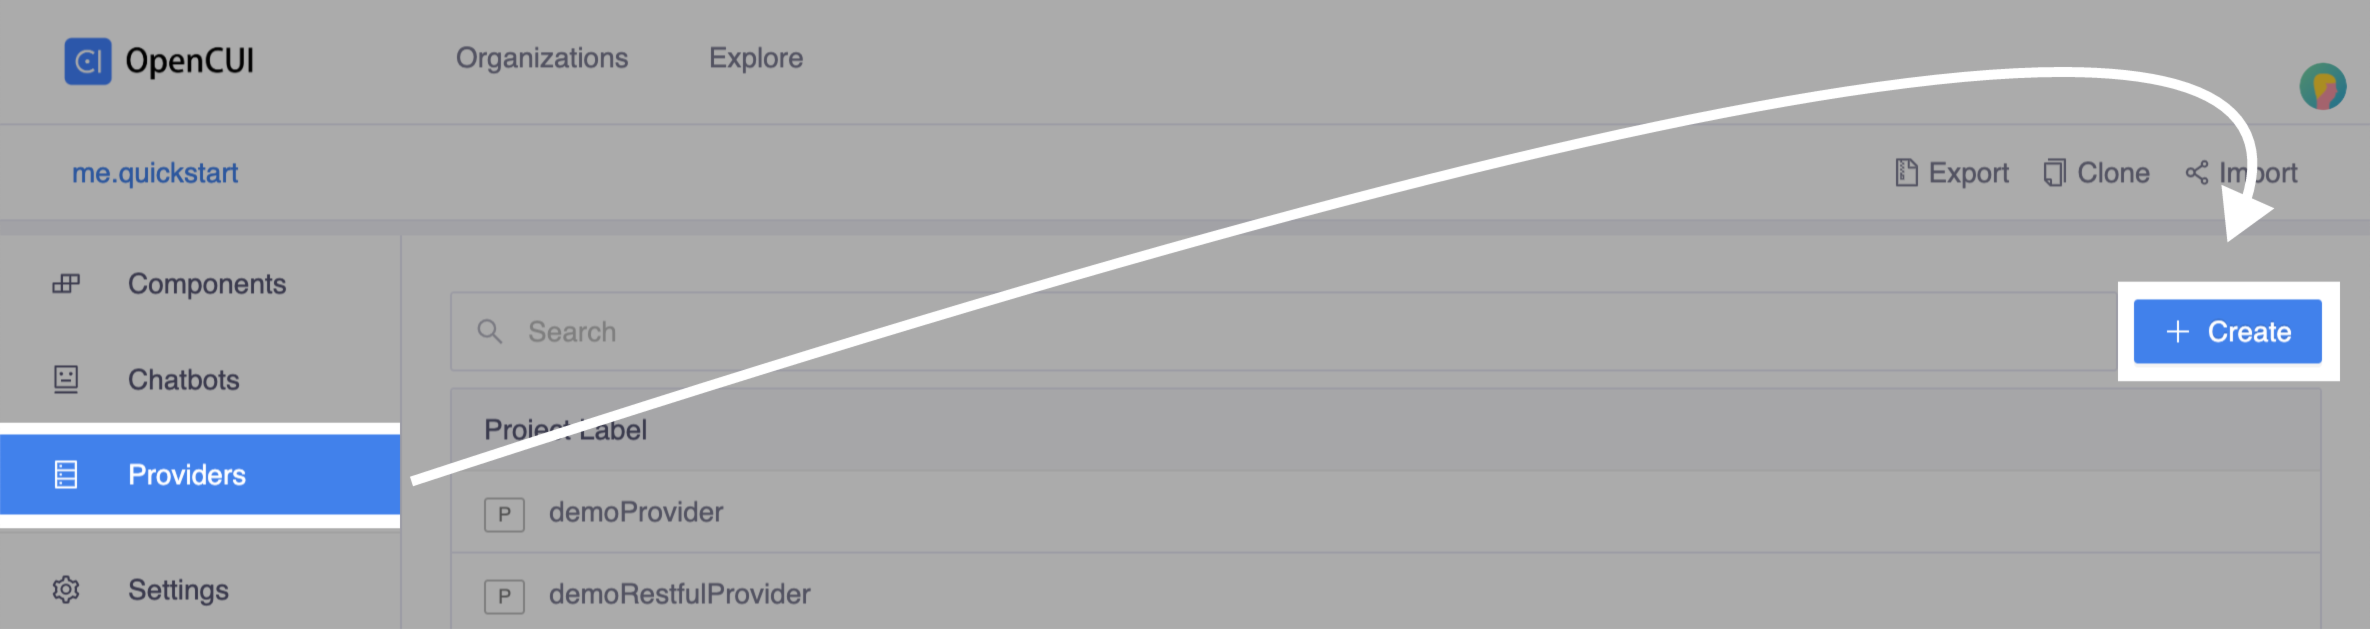
To create a native provider:
Go to one of your org, select Provider in left side menu, click Create on the right side.
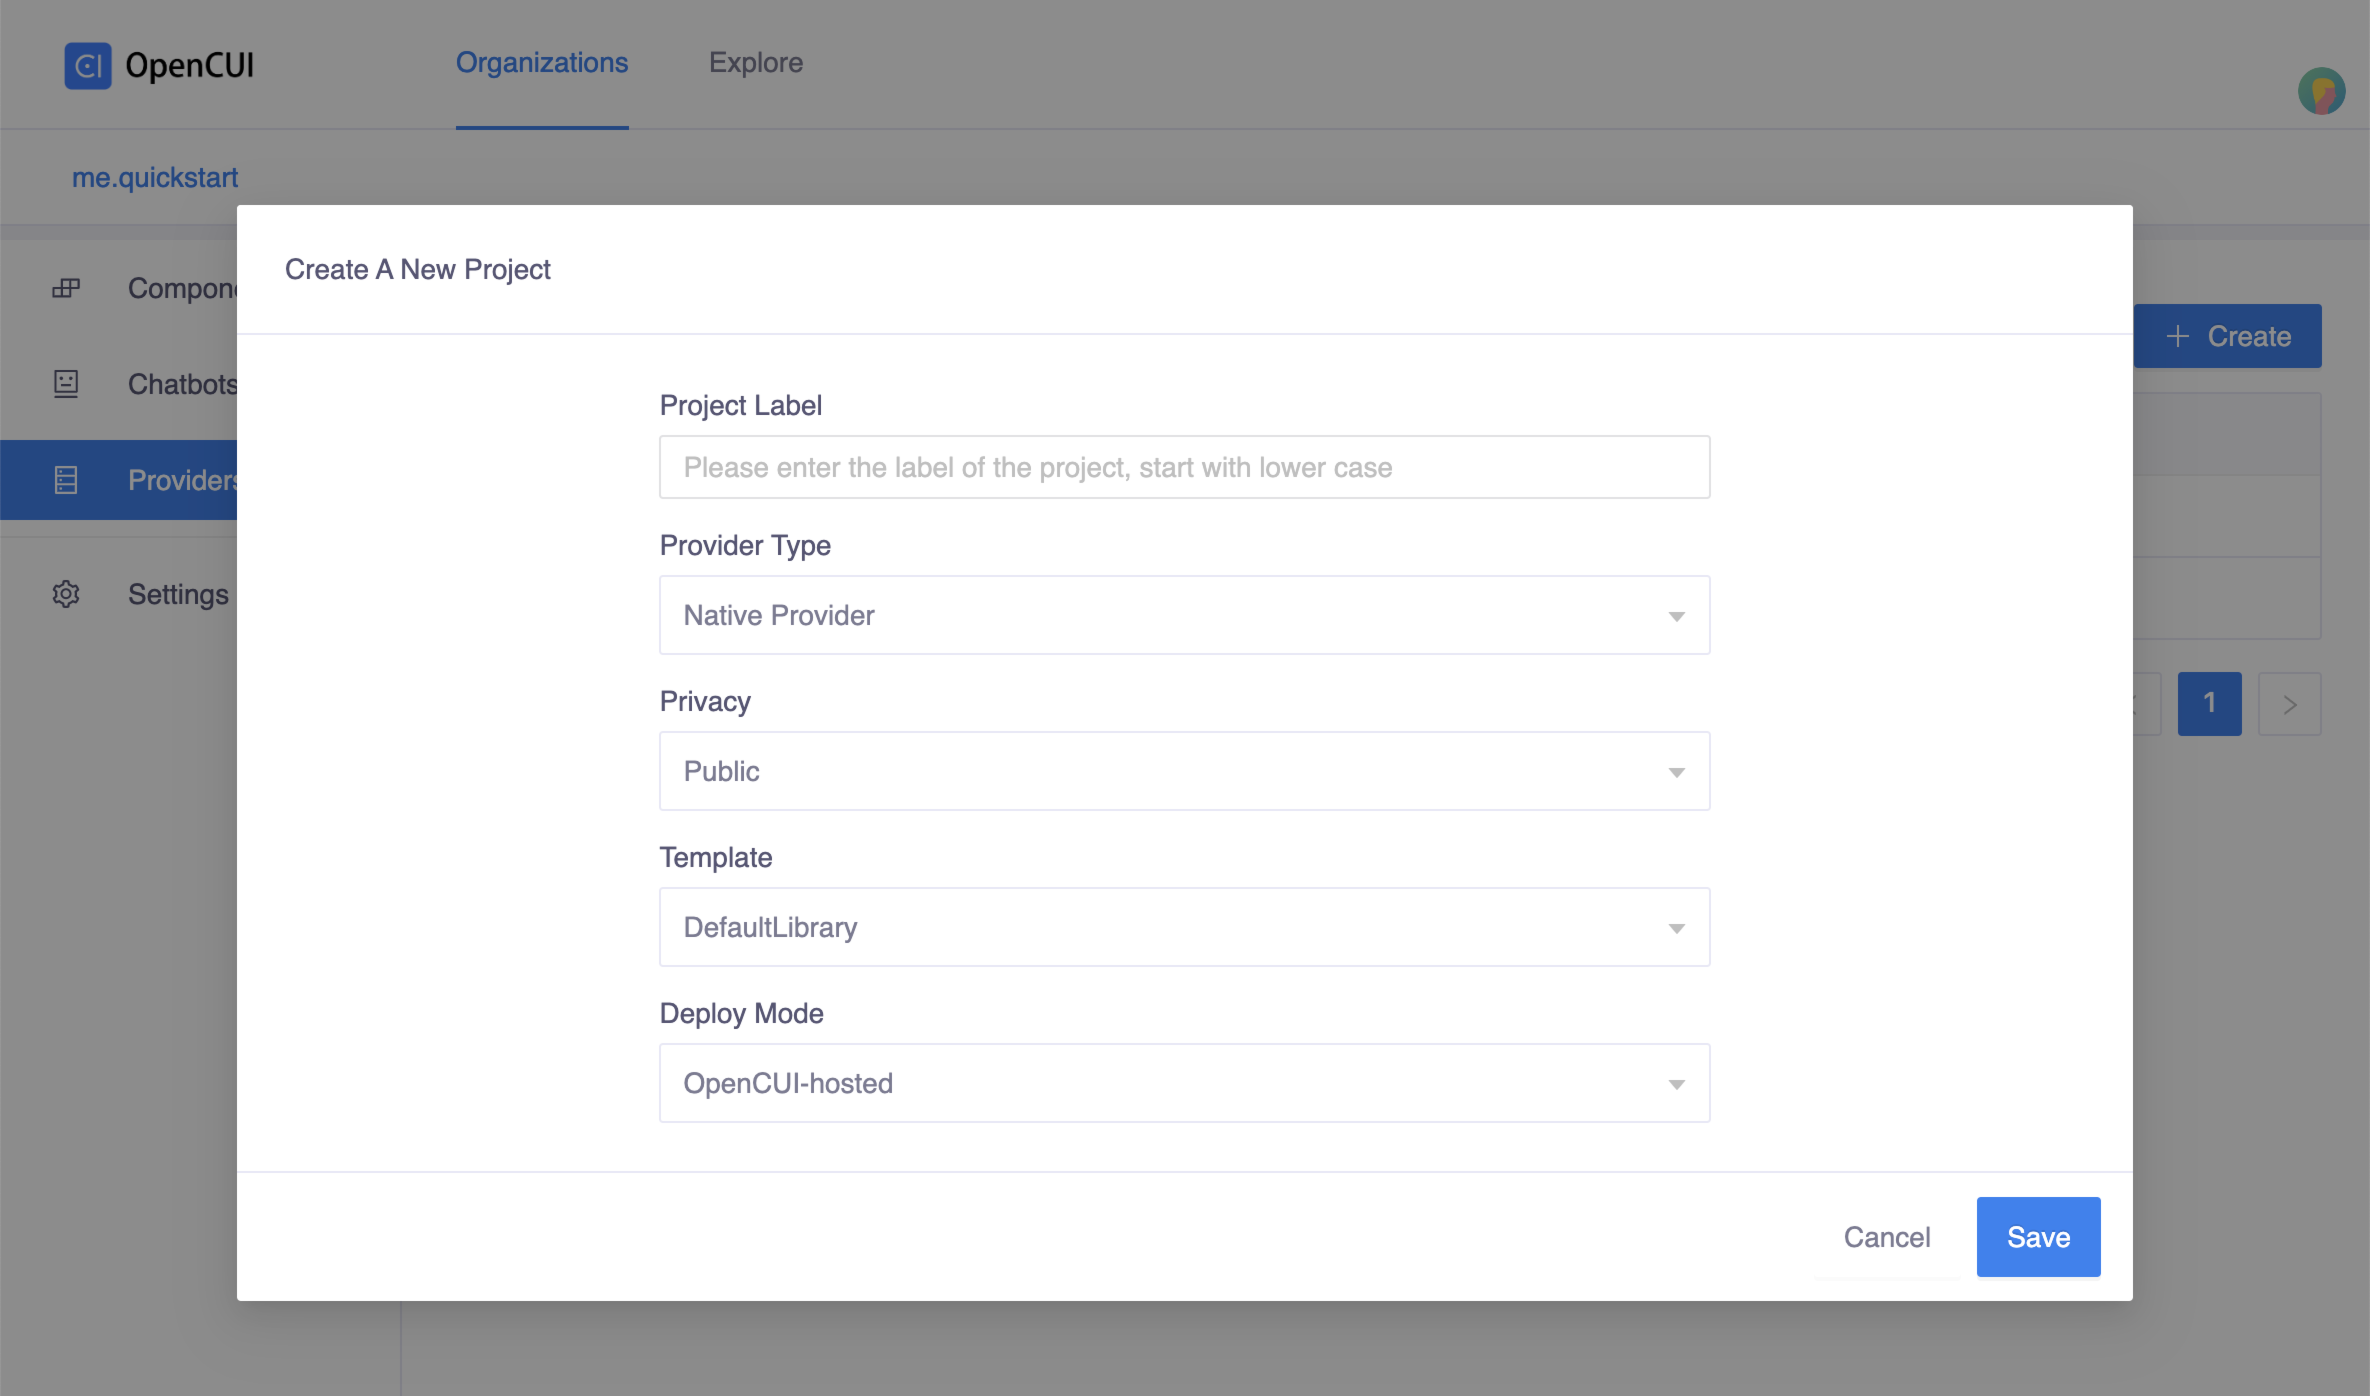
In the Create popup window:
- Enter a label for your provider.
- Select Native Provider in Provider Type field.
- Declare Deploy Mode. Private deploy means its source code OpenCUI platform will not access, while OpenCUI-hosted means the platform needs to access it.
- Click Save.
2. Declare service interface
When you are done with creation, you need to declare which service interface this native provider implements. To declare the service interface, follow these steps:
If you have not already entered the service component you want to implement, click into now. Within an organization, you can search it from the search bar on the component list page. Within Explore page, you can search it from the search bar at the top of this page. Don't forget selecting SERVICE in filter to help you.
 Search in Component list page
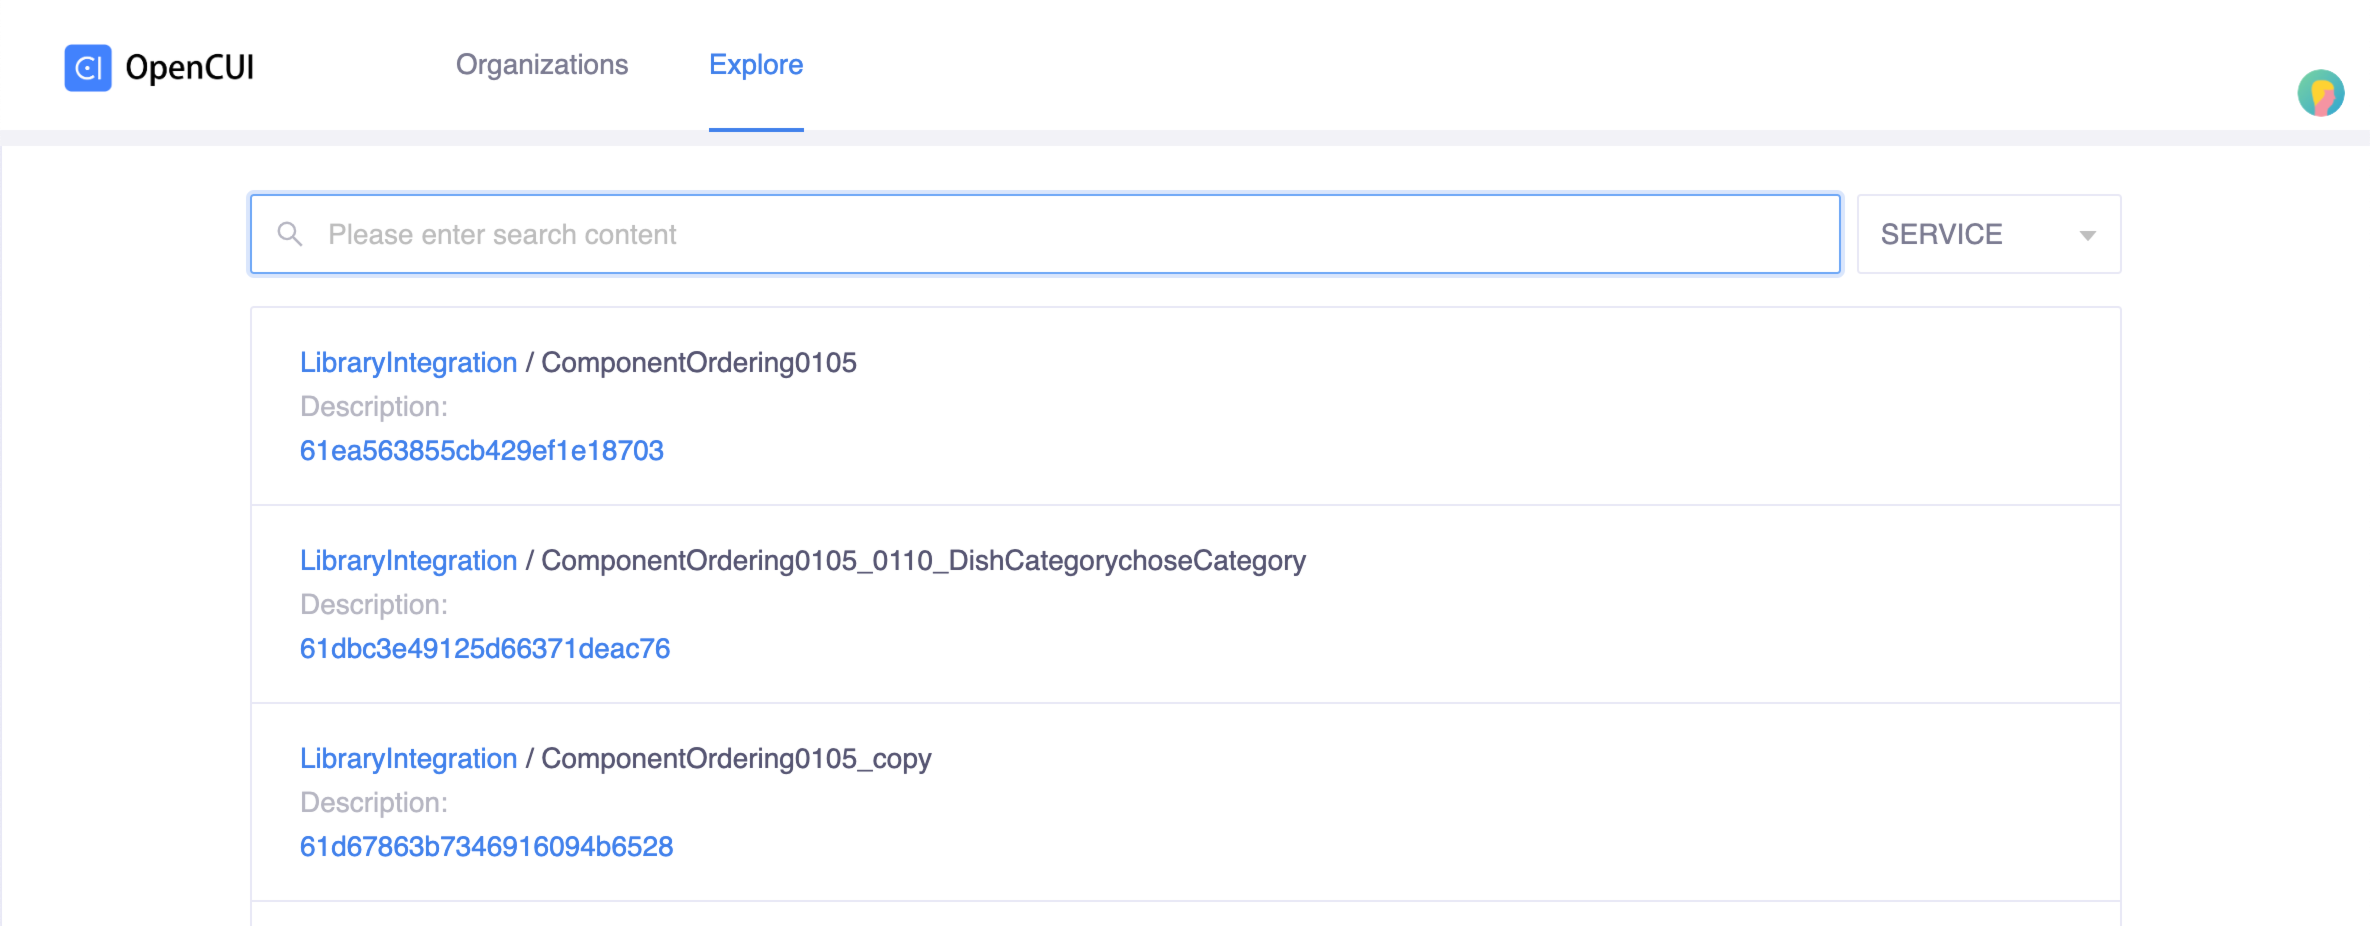 Search in Explore list page
When you are in the service component, click Import on the second navigation bar. Then in the popup window, select your native provider and save.
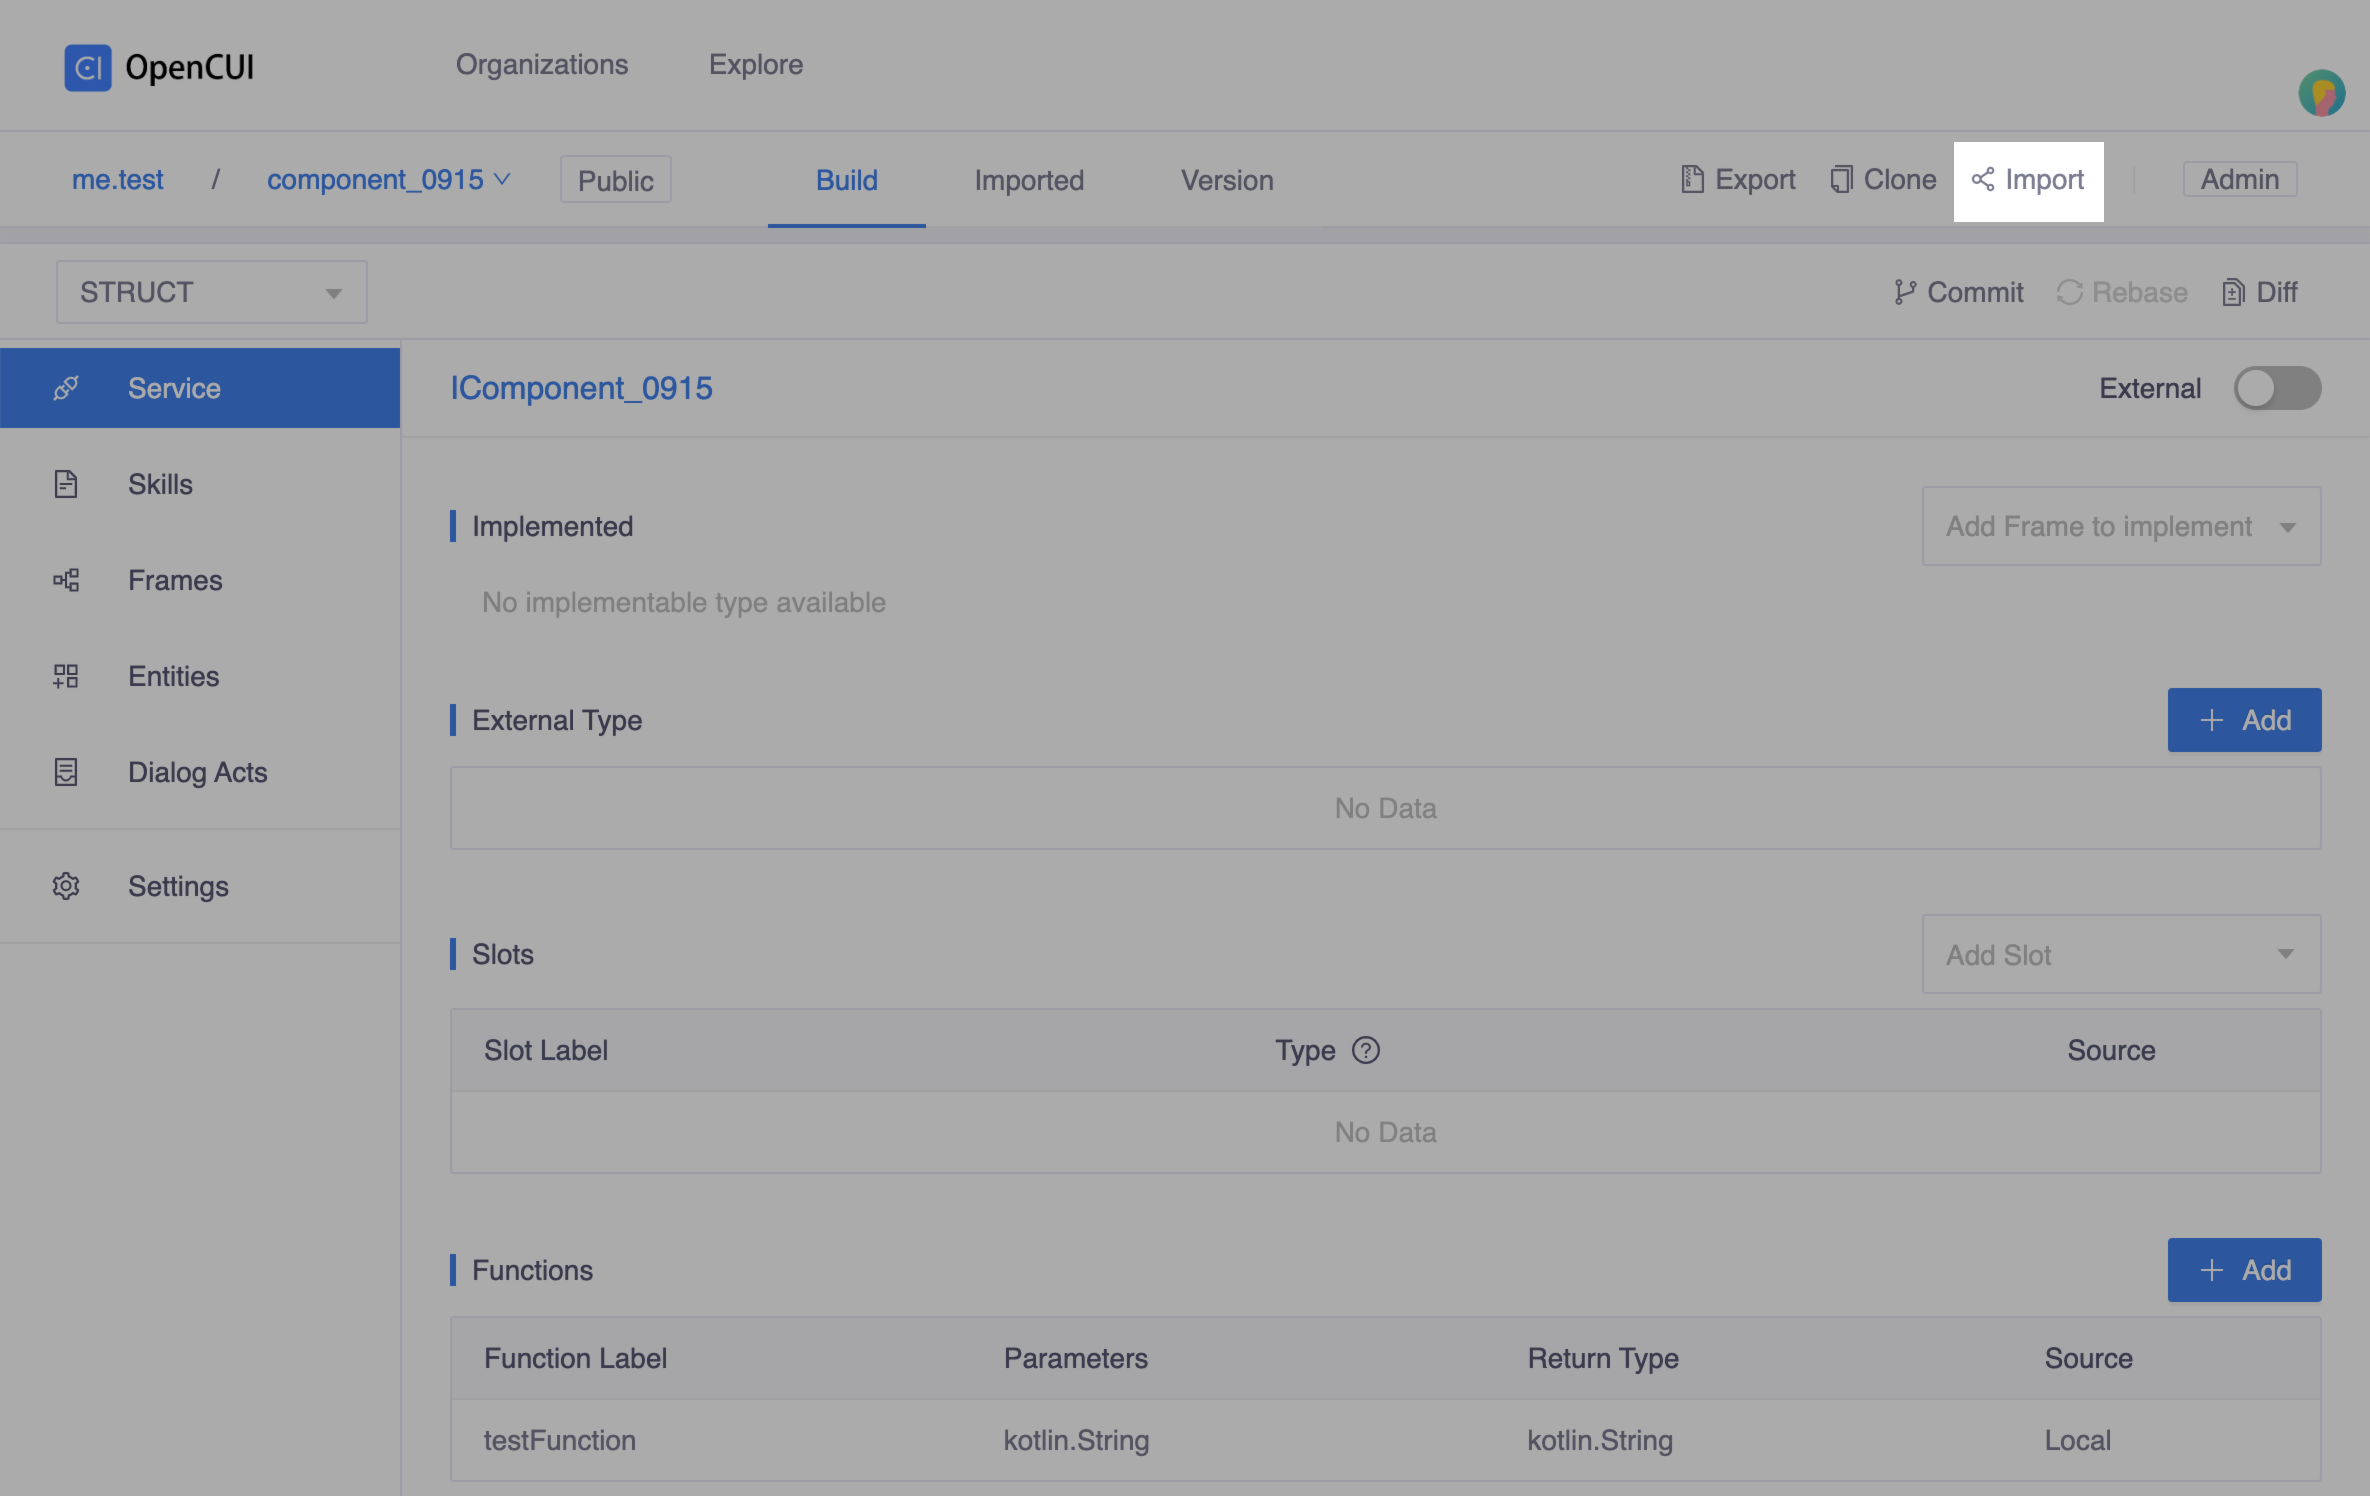 Click import
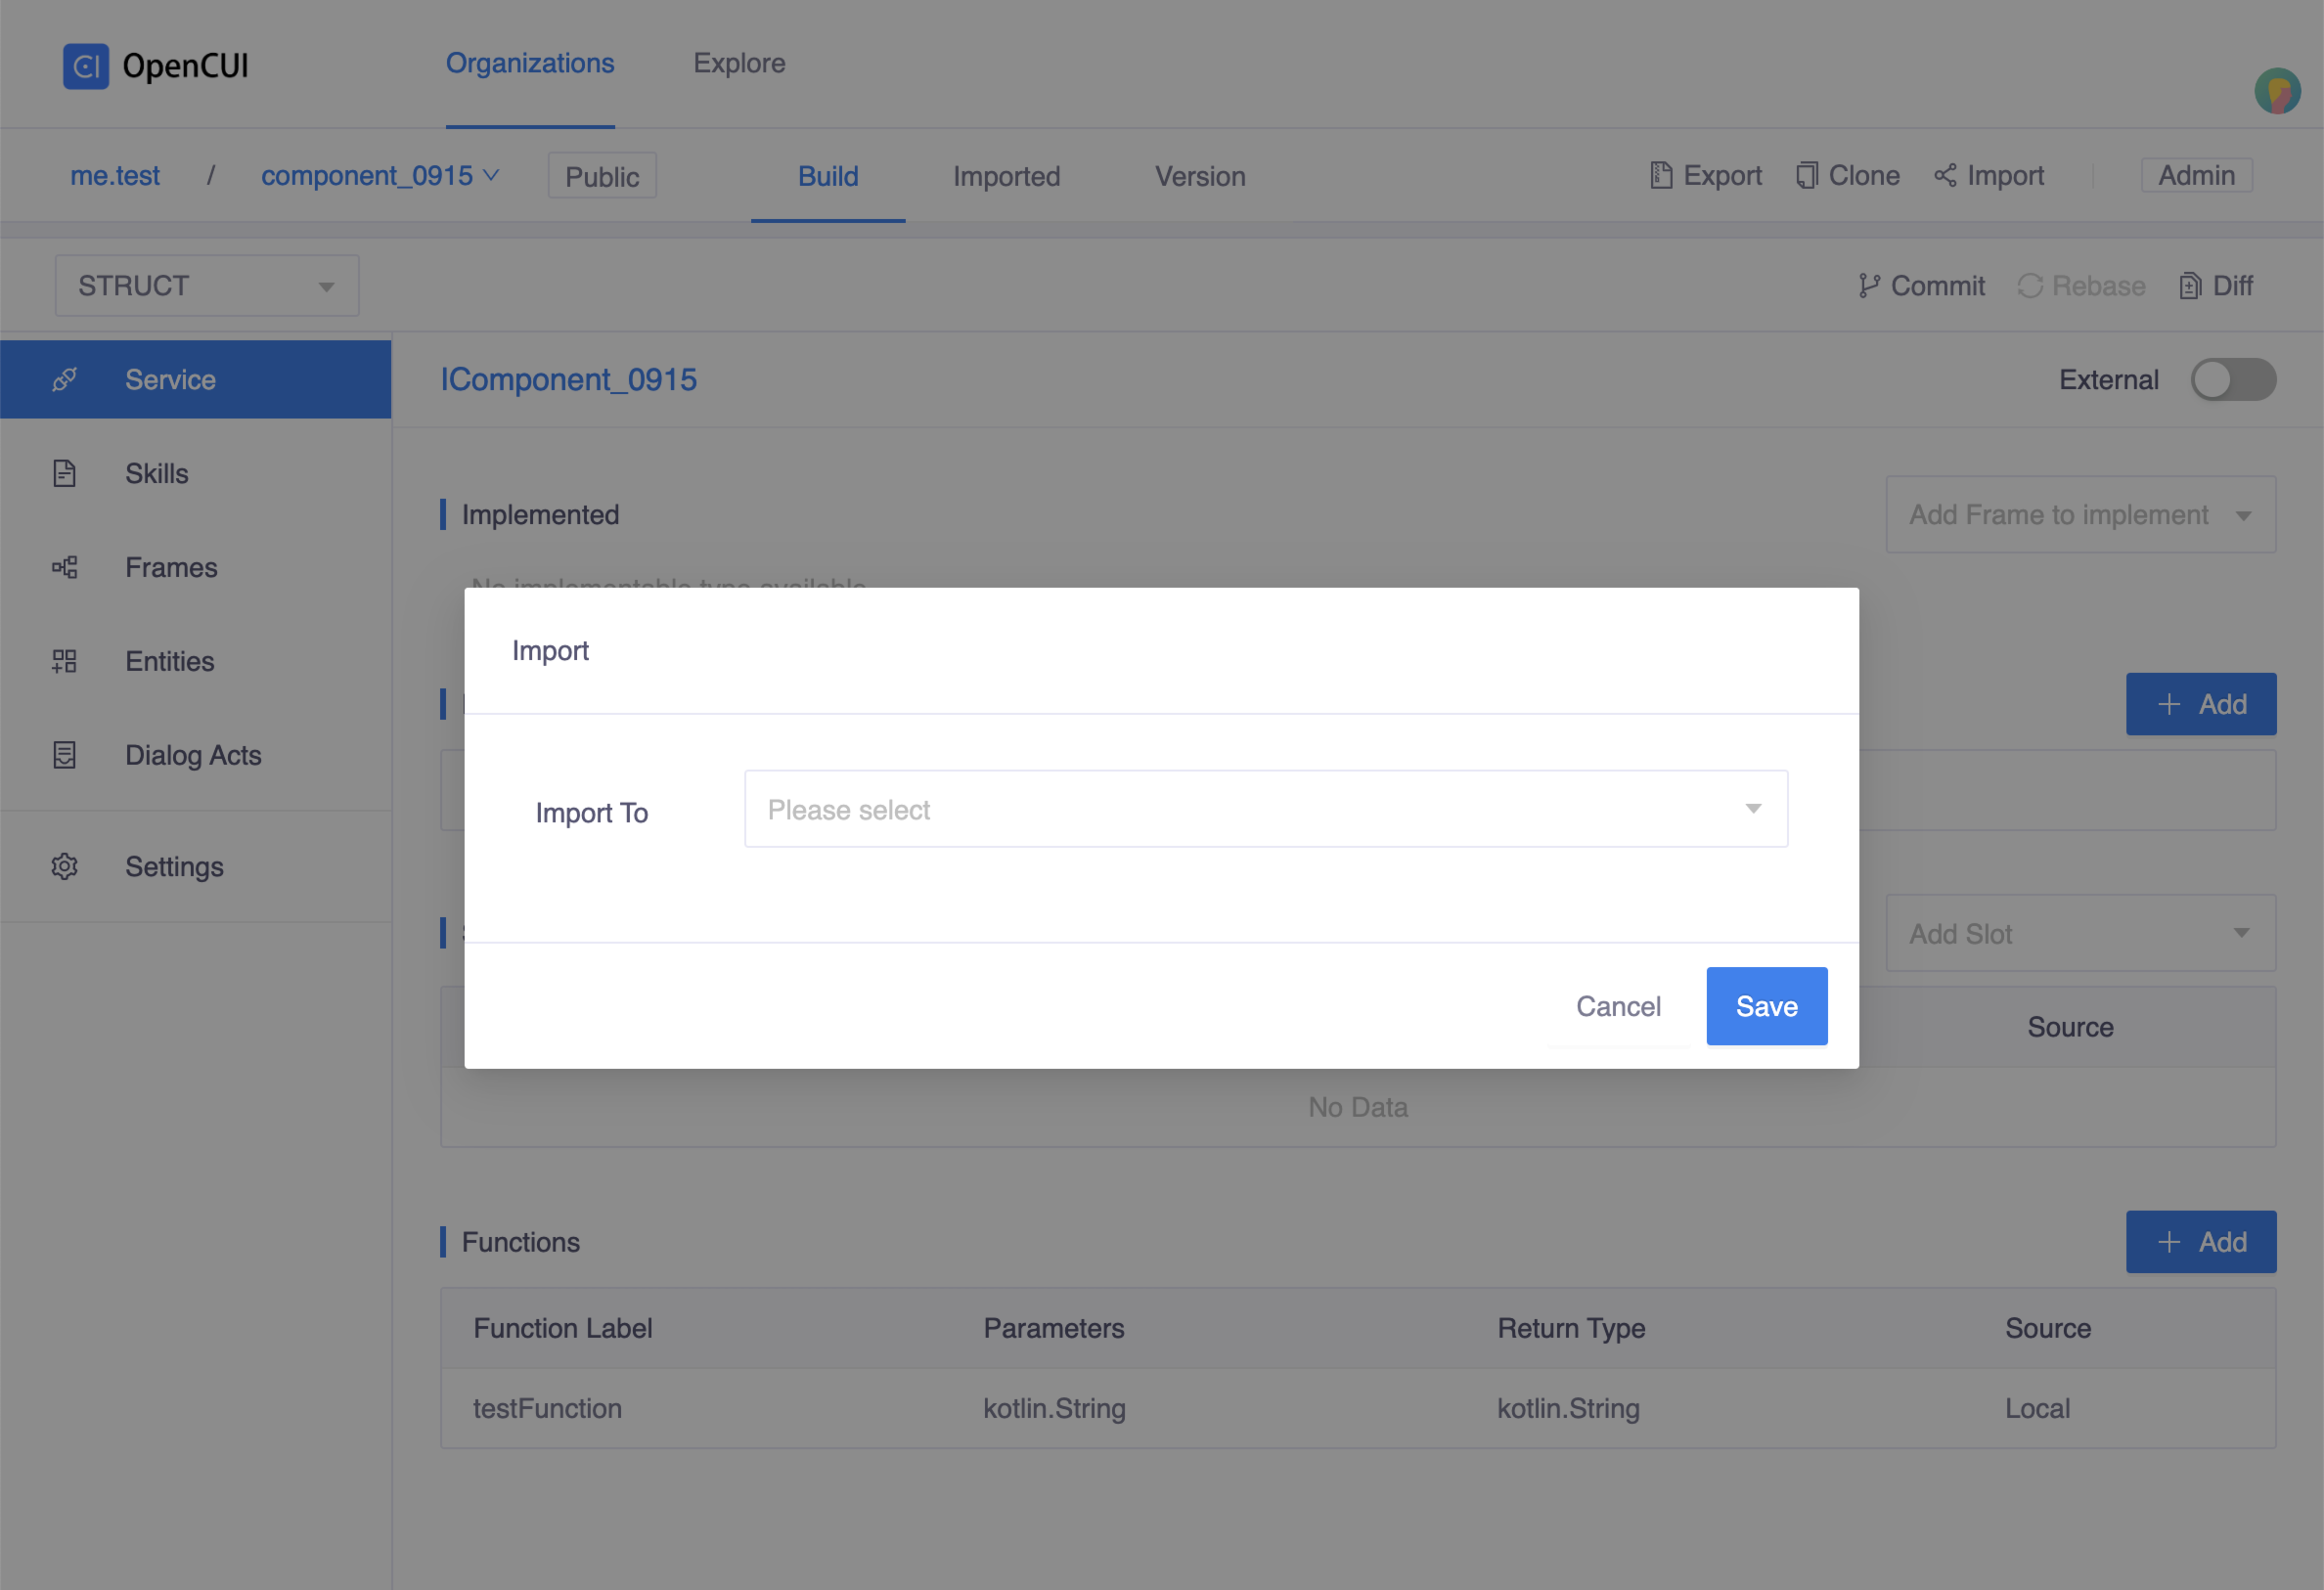 Select native provider
Back to your native provider, heading to Service page from the left side menu. In the Implemented section, select the service interface you just imported.
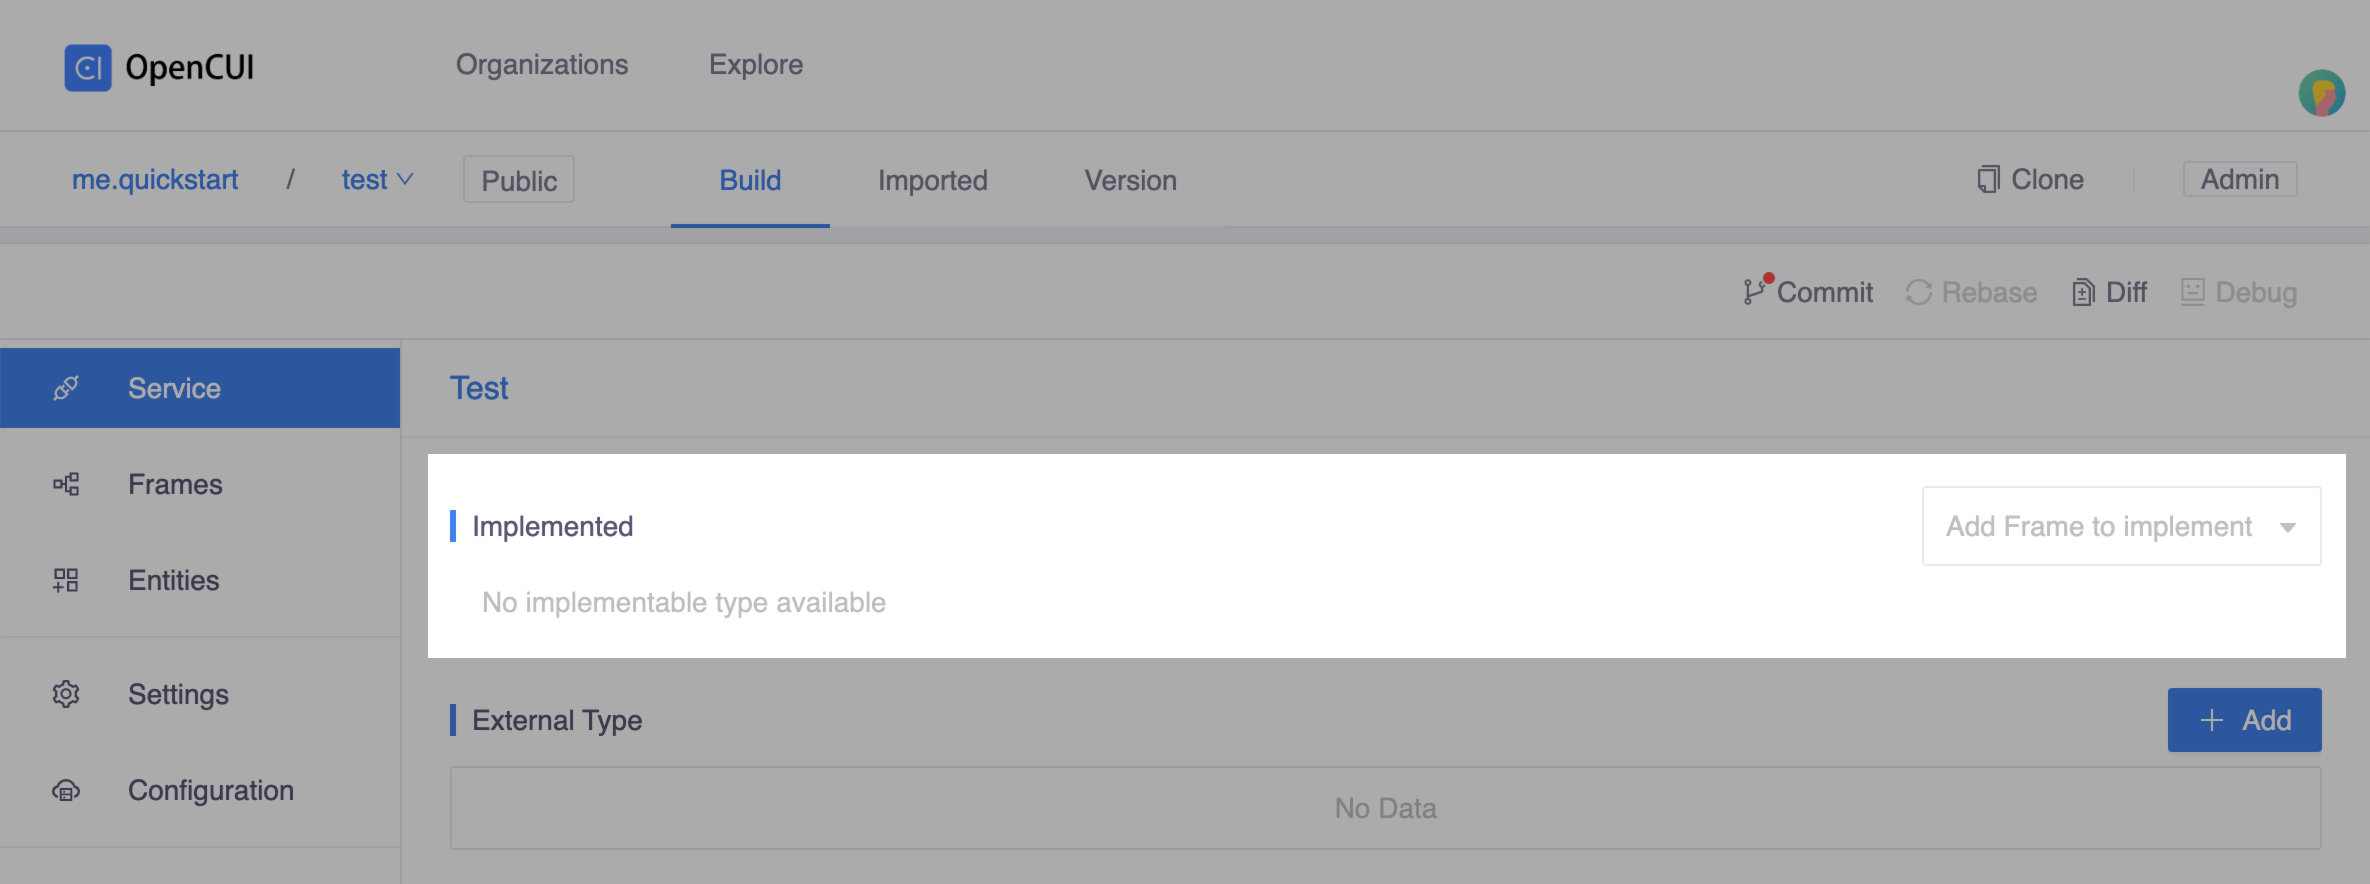 Select service interface
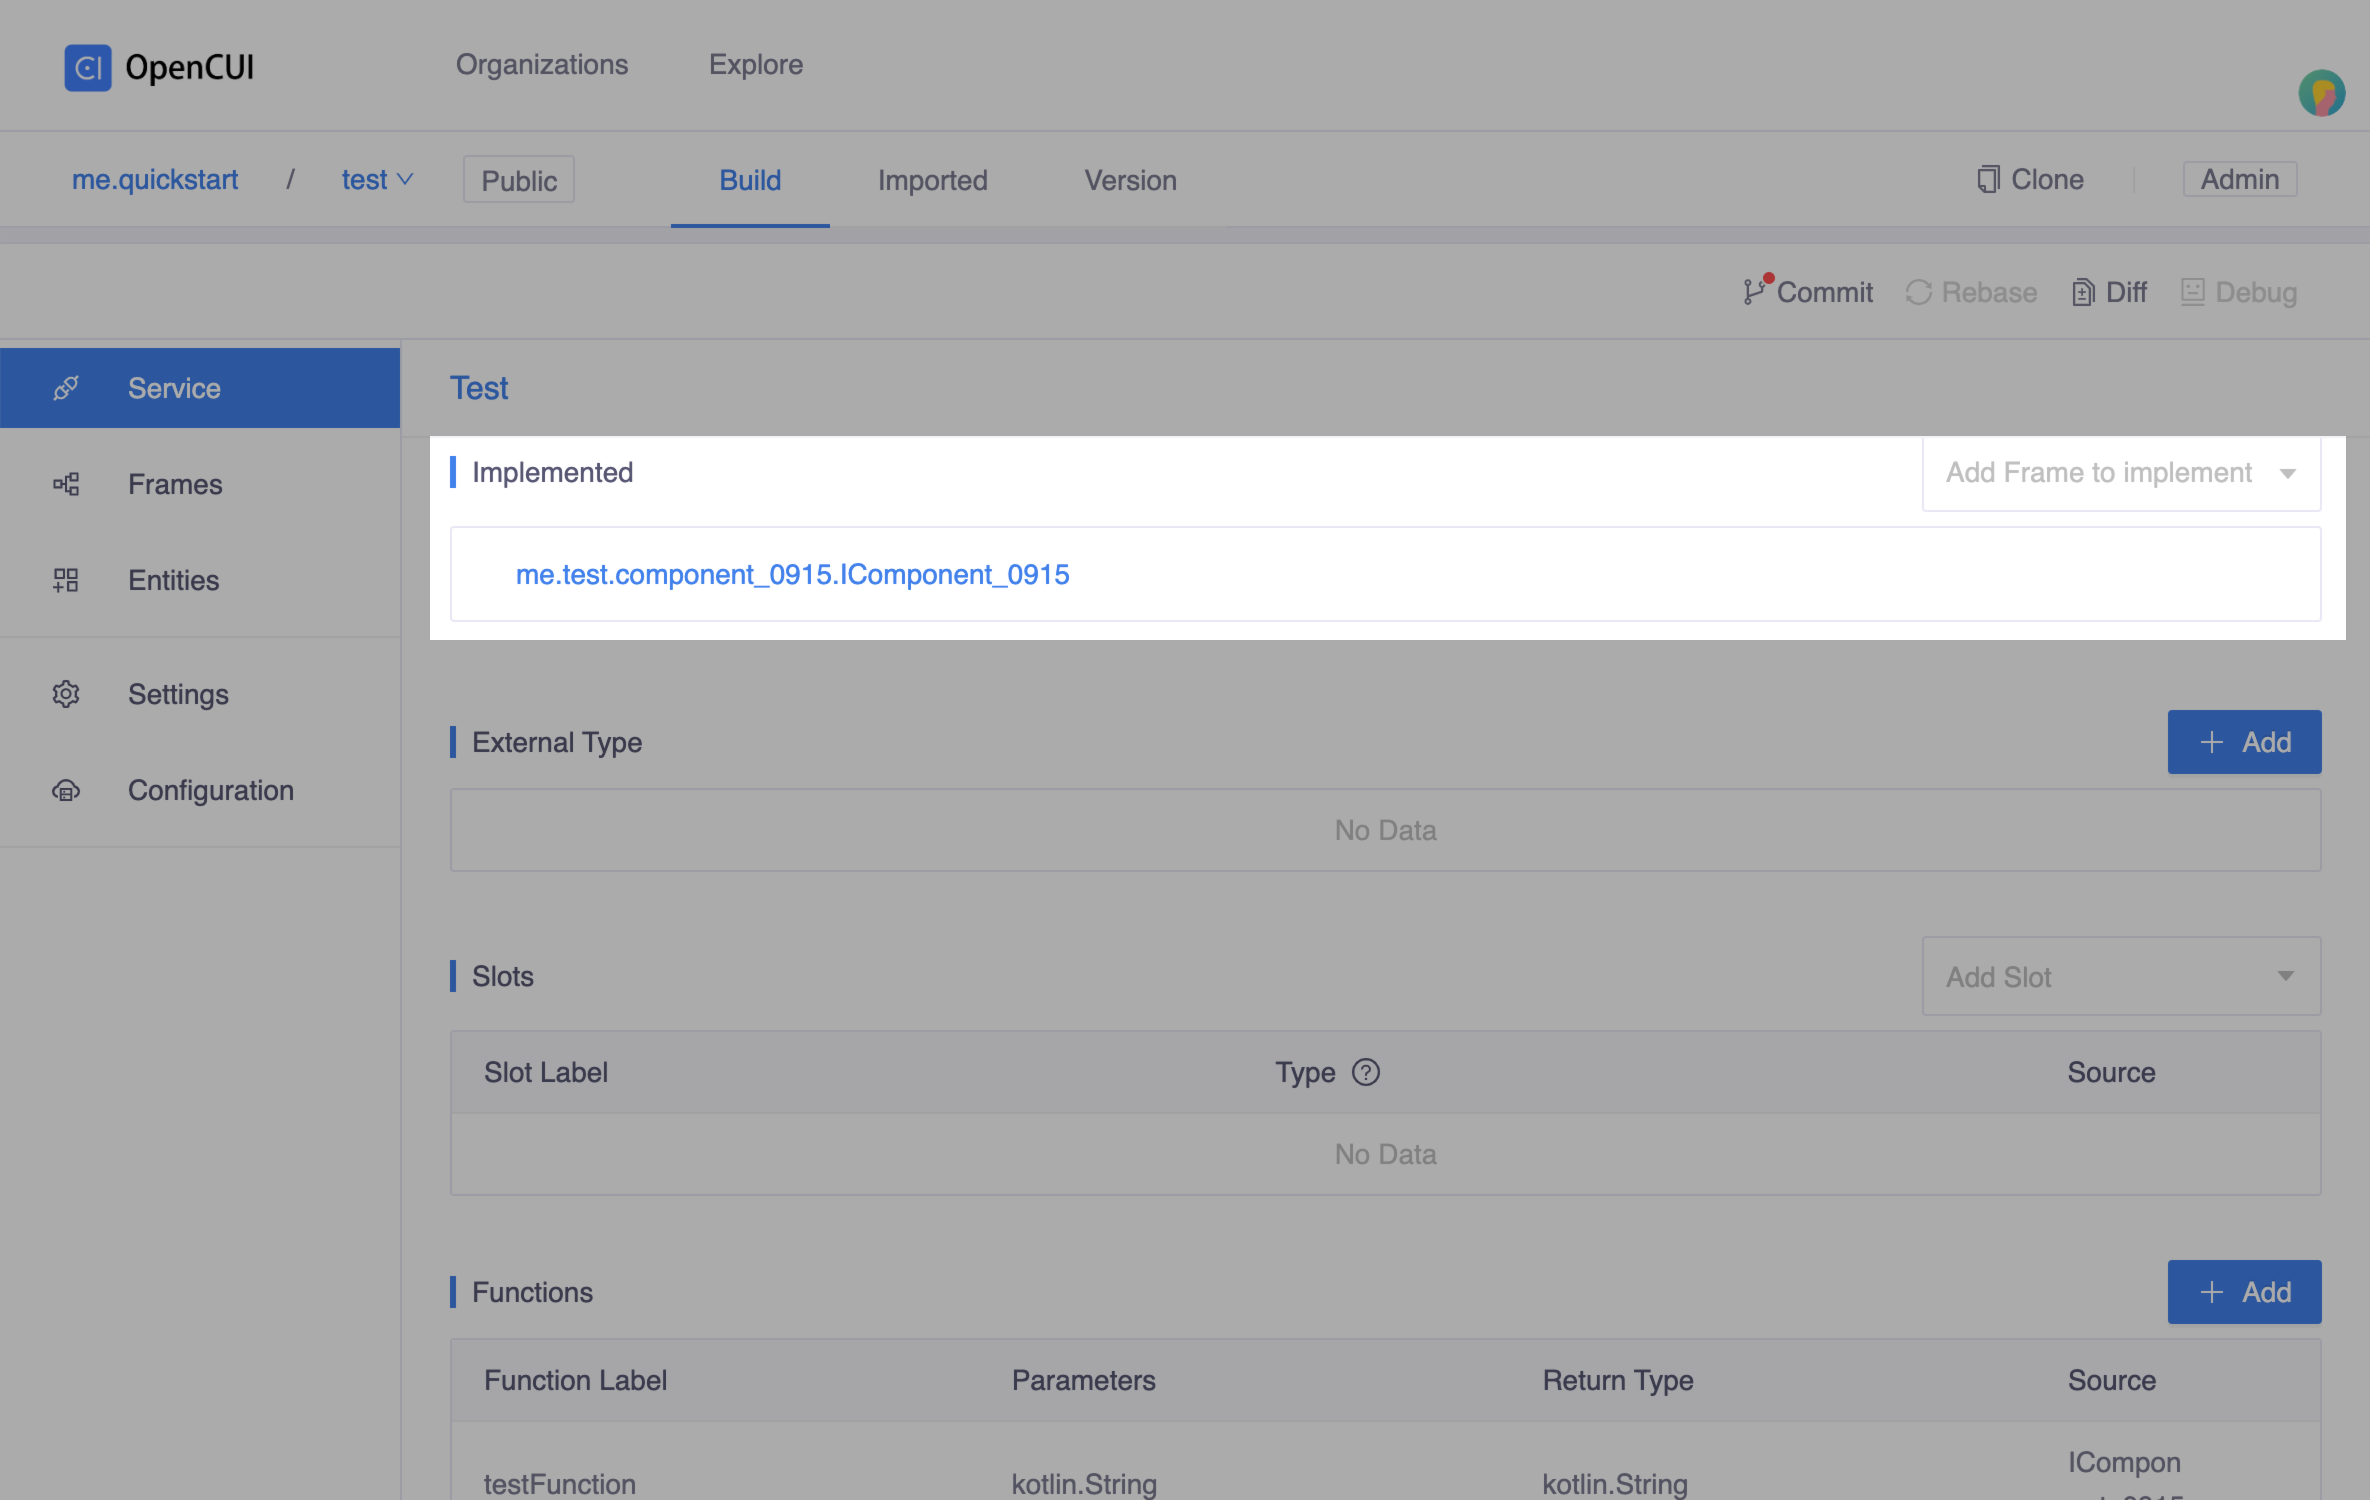 Done with selection
3. Configuration setup
Configuration is the way you declare the Implementation dependencies for a build.
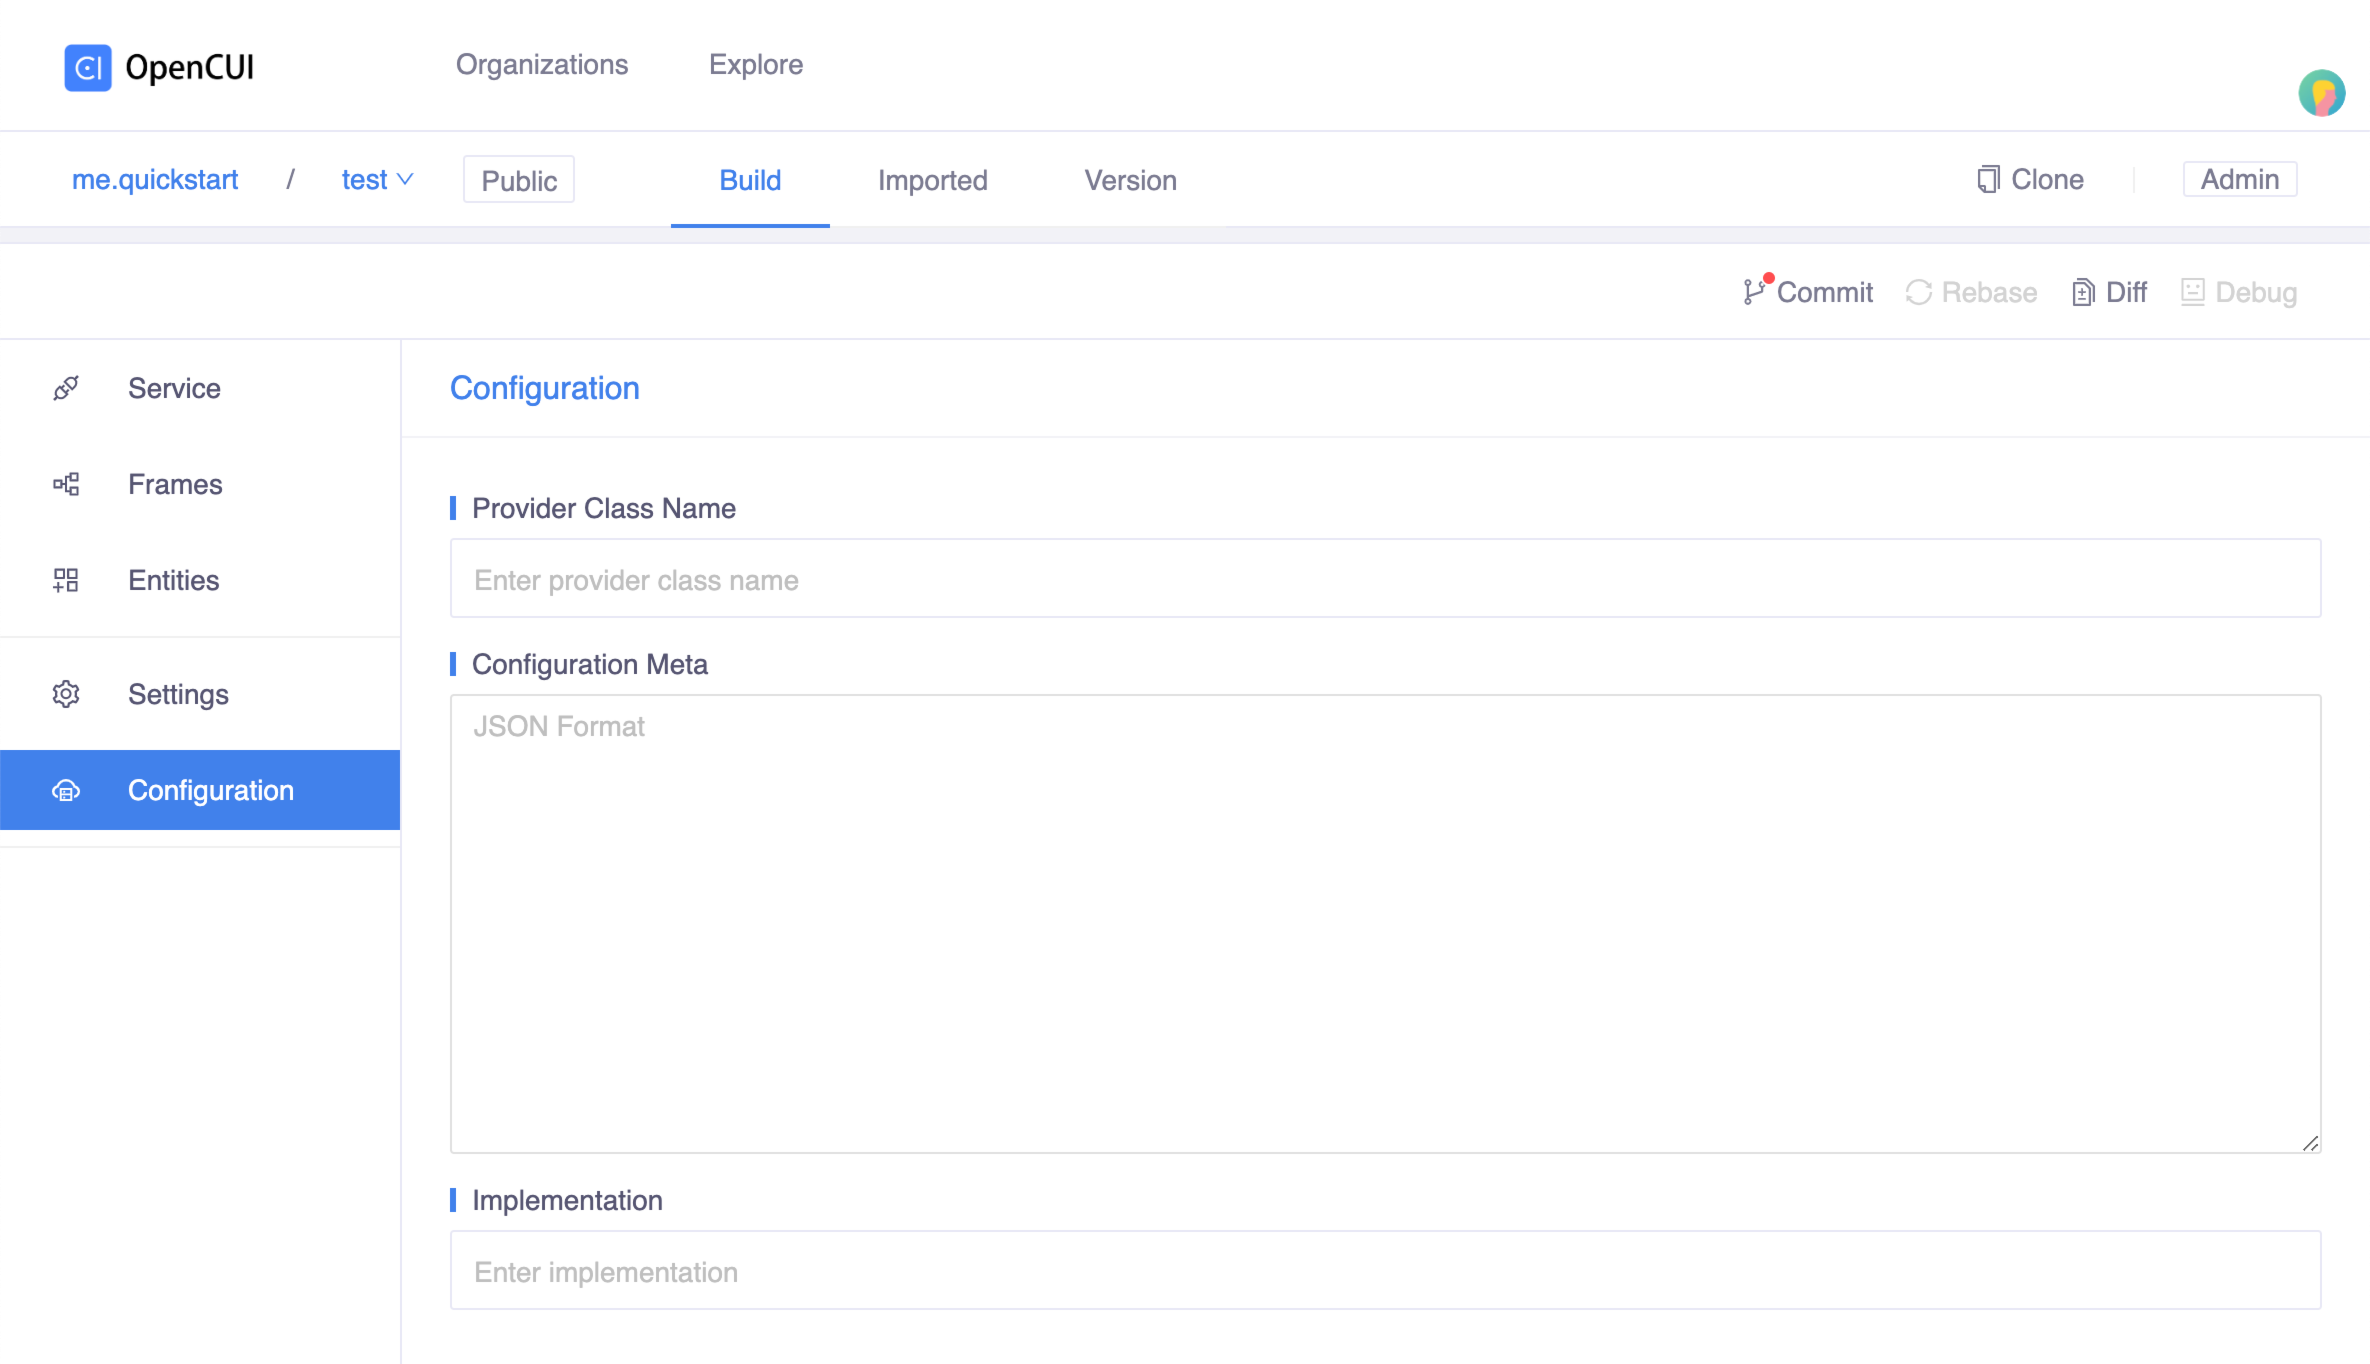
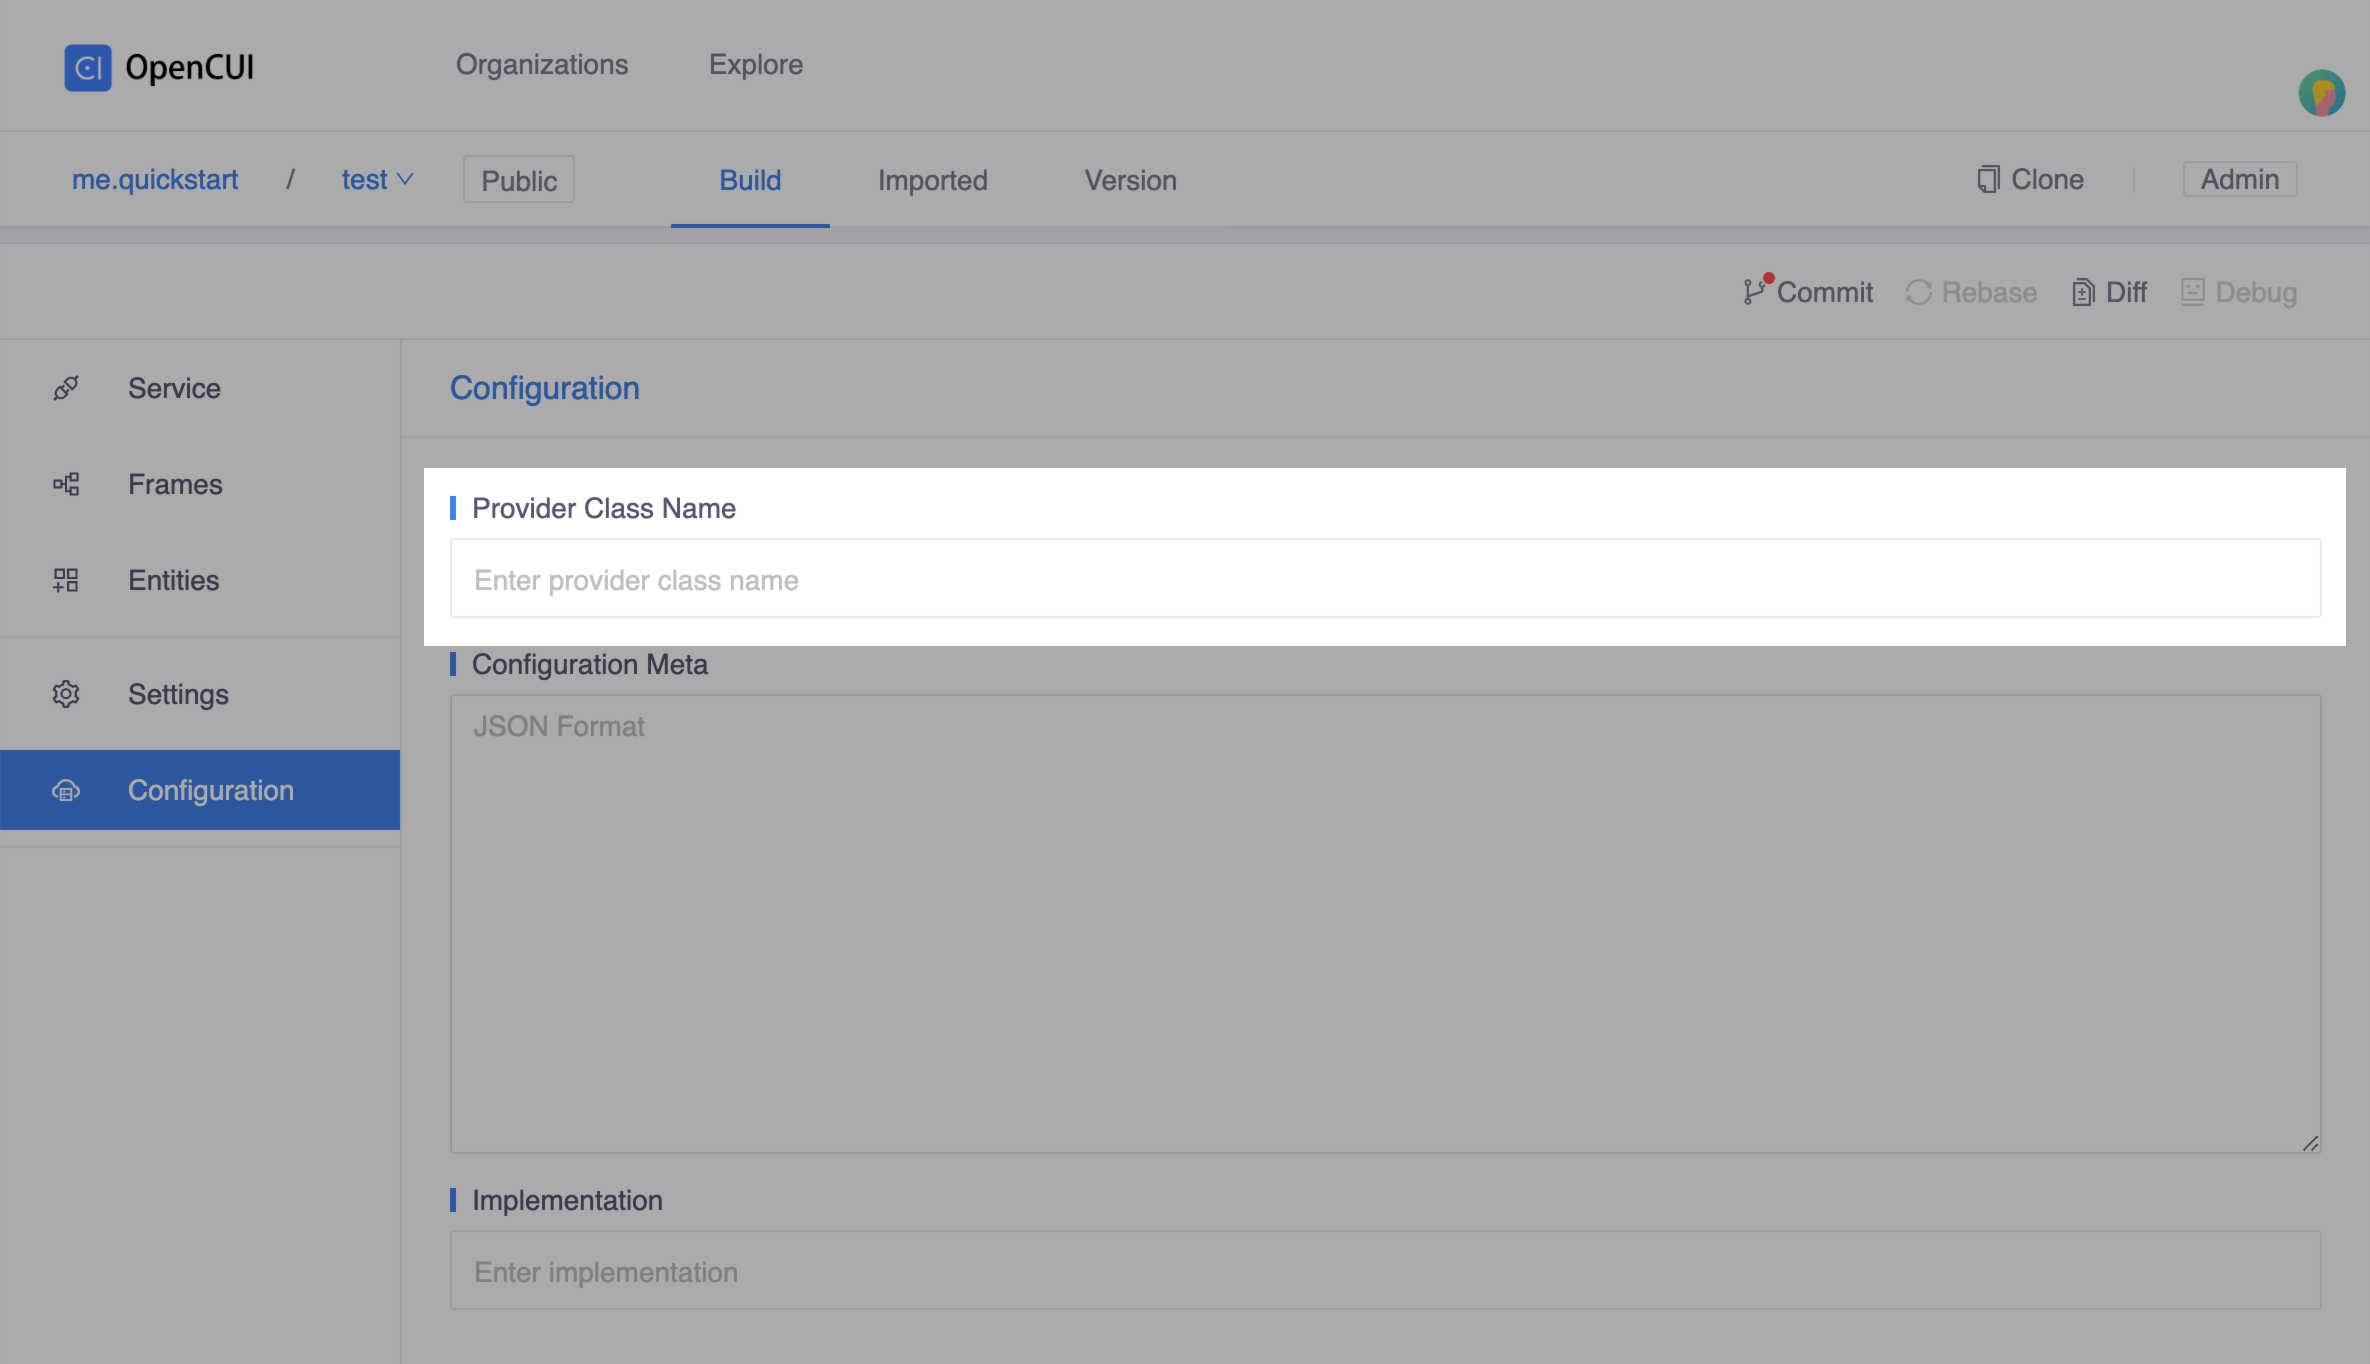
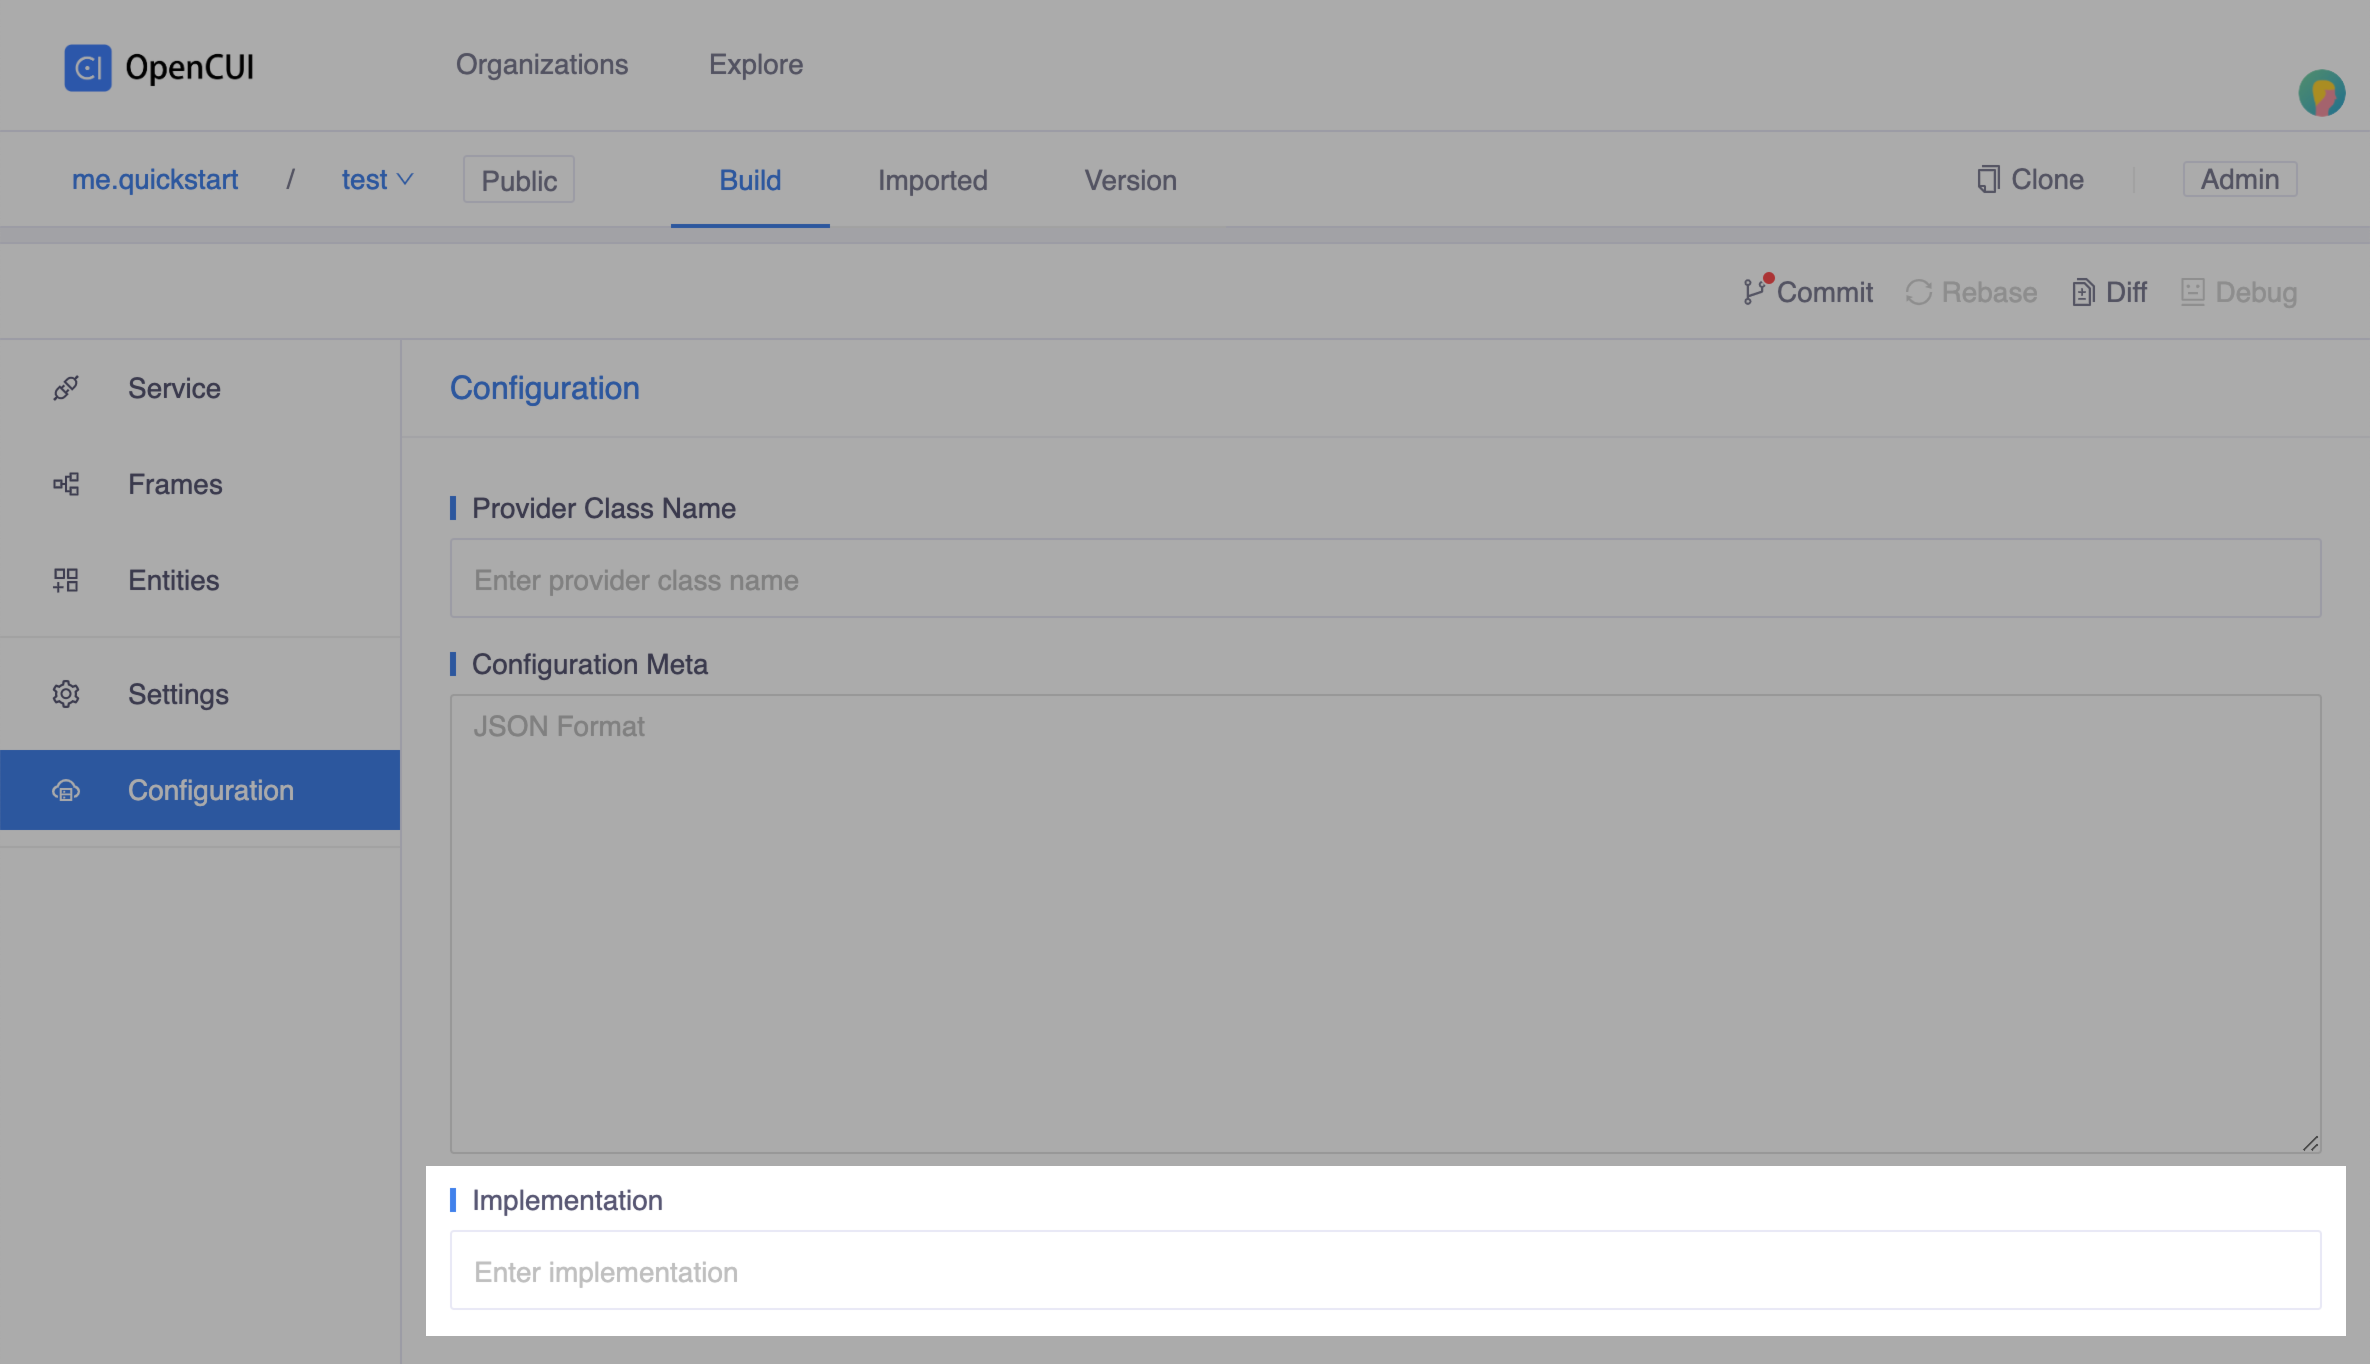
Provider class name
For implementation build, you need to let OpenCUI know the implementation class that implements the service interface. So a provider class name is the fully qualified name of this class.
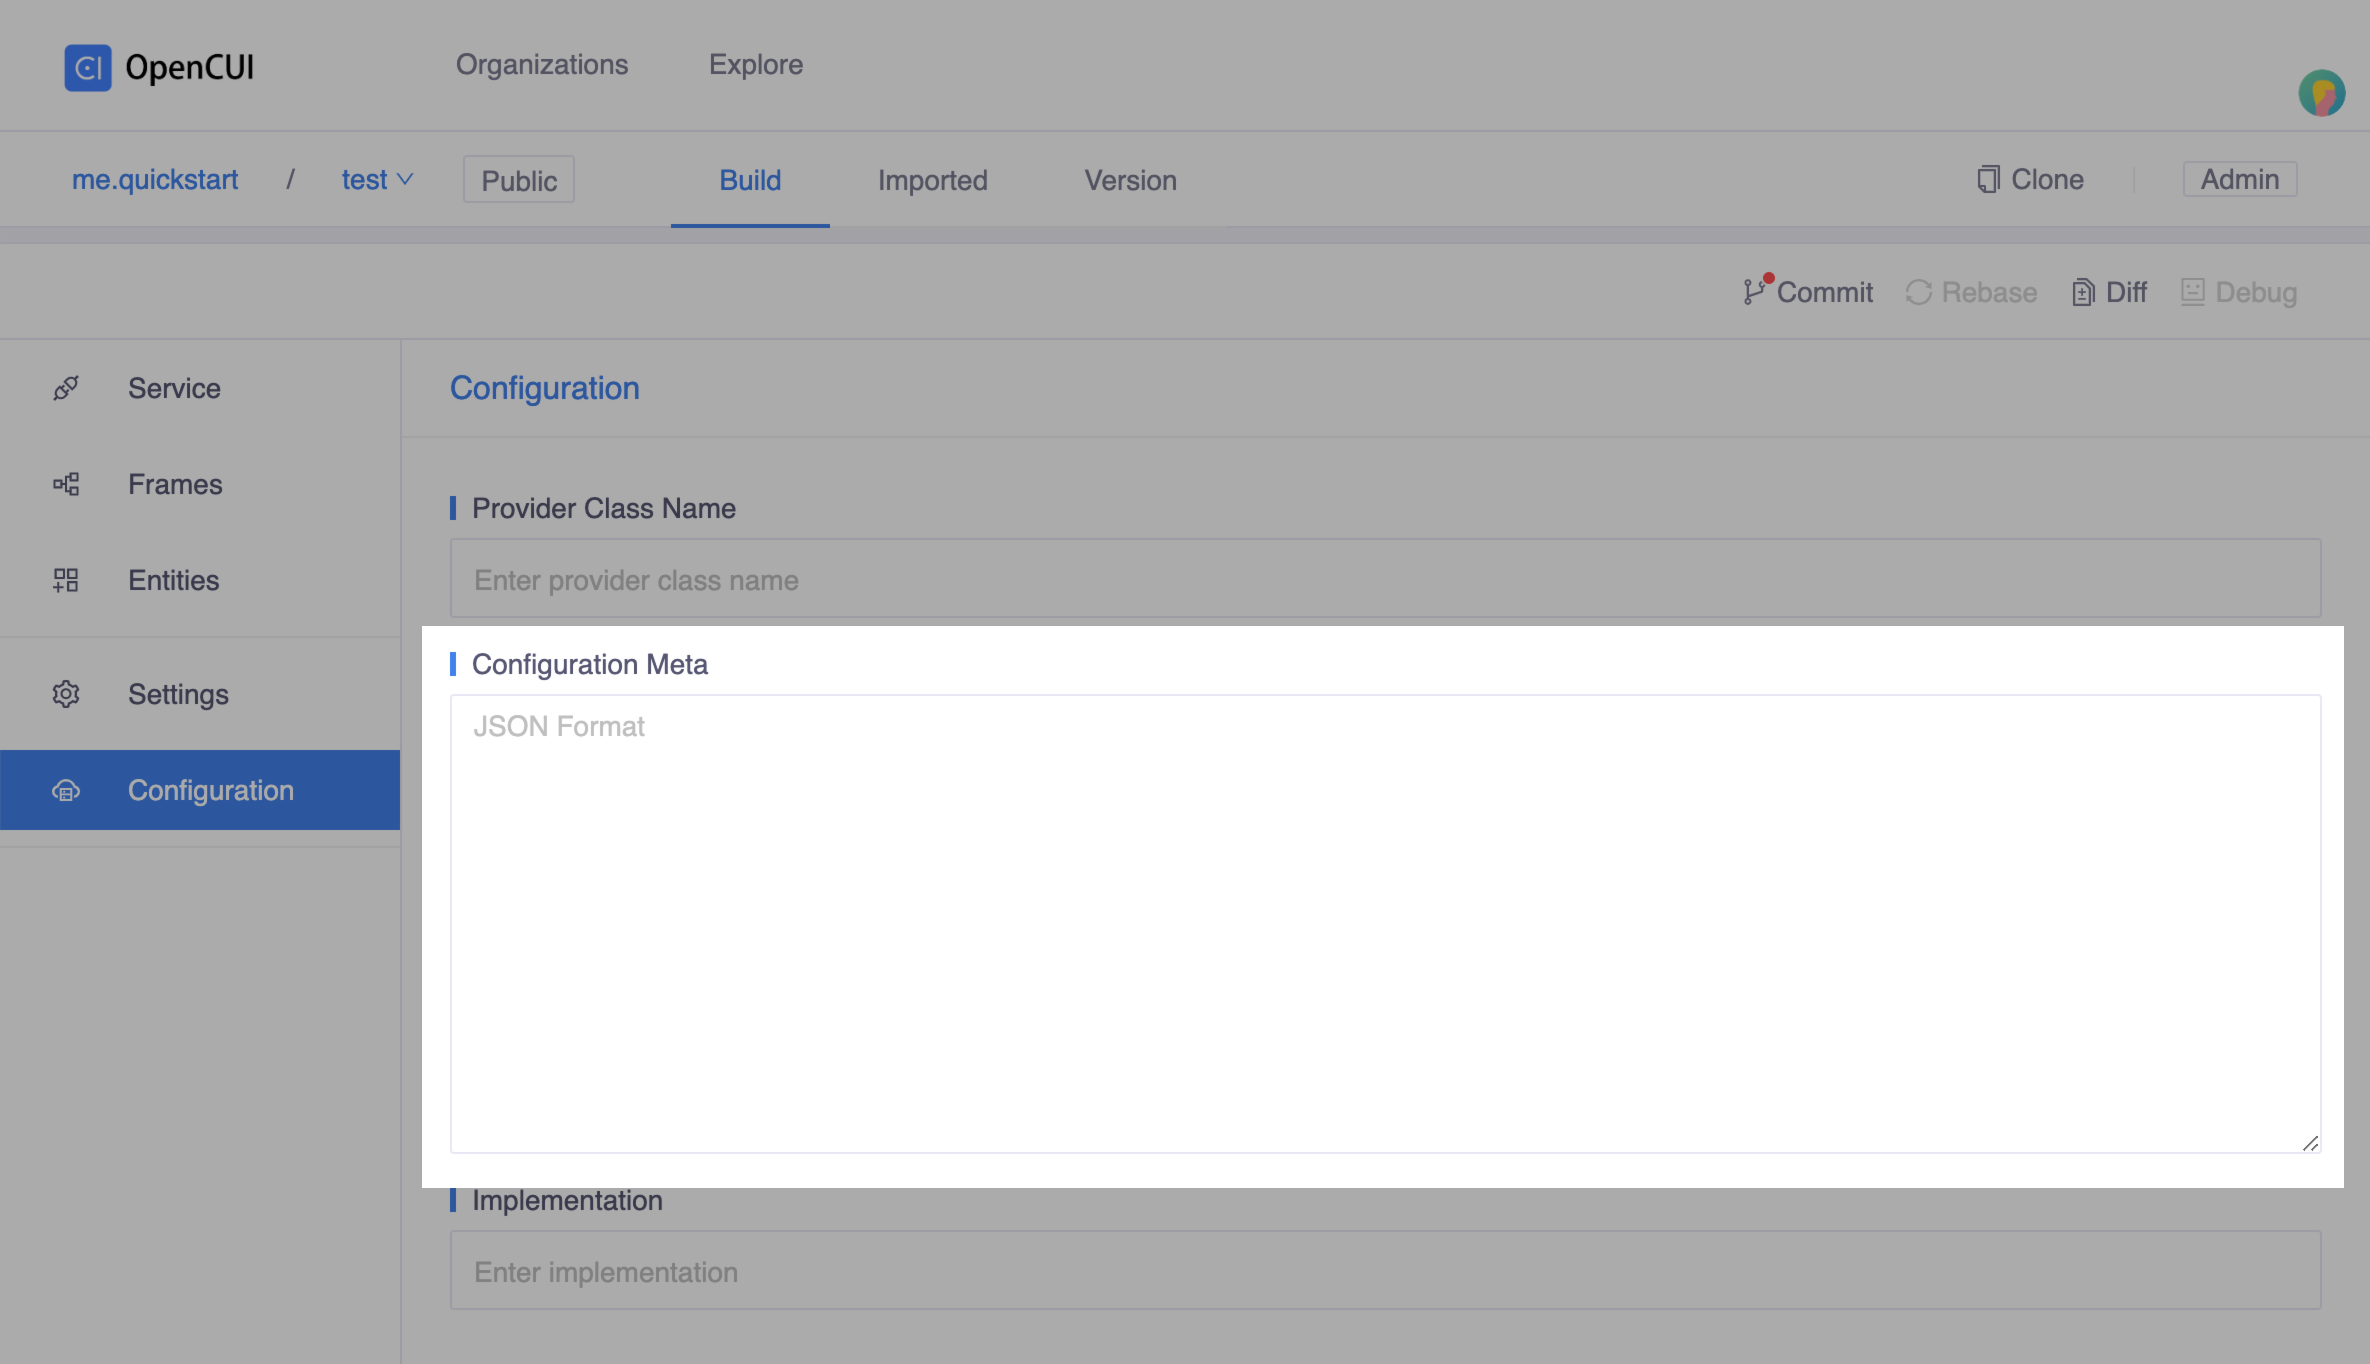
Configuration Meta
Configuration Meta can help you setup the information needed when wiring this provider. You can create configuration template in JSON format.
JSON representation
[
  {
    "key": "key1",
    "label": "Display Label 1",
    "type": "String | Text | Boolean",
    "placeholder": "placeholder text",
    "default_value": "default value"
  },
  {
    "key": "key2",
    "label": "Display Label 2",
    "placeholder": "placeholder text",
    // when options exist, we provider selection type.
    "options": [
      {
        "value": "value1",
        "label": "Option 1"
      },
      {
        "value": "value2",
        "label": "Option 2"
      }
    ]
  }
]
Fields
| Fields | Type | Description |
|---|---|---|
key | string | Required. Key will pass to codegen. |
label | string | Required. Displayed on chatbot Integrations. |
type | string | Required when there is no options[]. Should be one of the following: String, Text or Boolean, case sensitive. |
placeholder | string | Optional. |
default_value | string | Optional. |
options[] | array | Required when there is no type. |
options
| Fields | Type | Description |
|---|---|---|
value | string | Required. |
label | string | Required. Displayed on selection menu. |
Examples
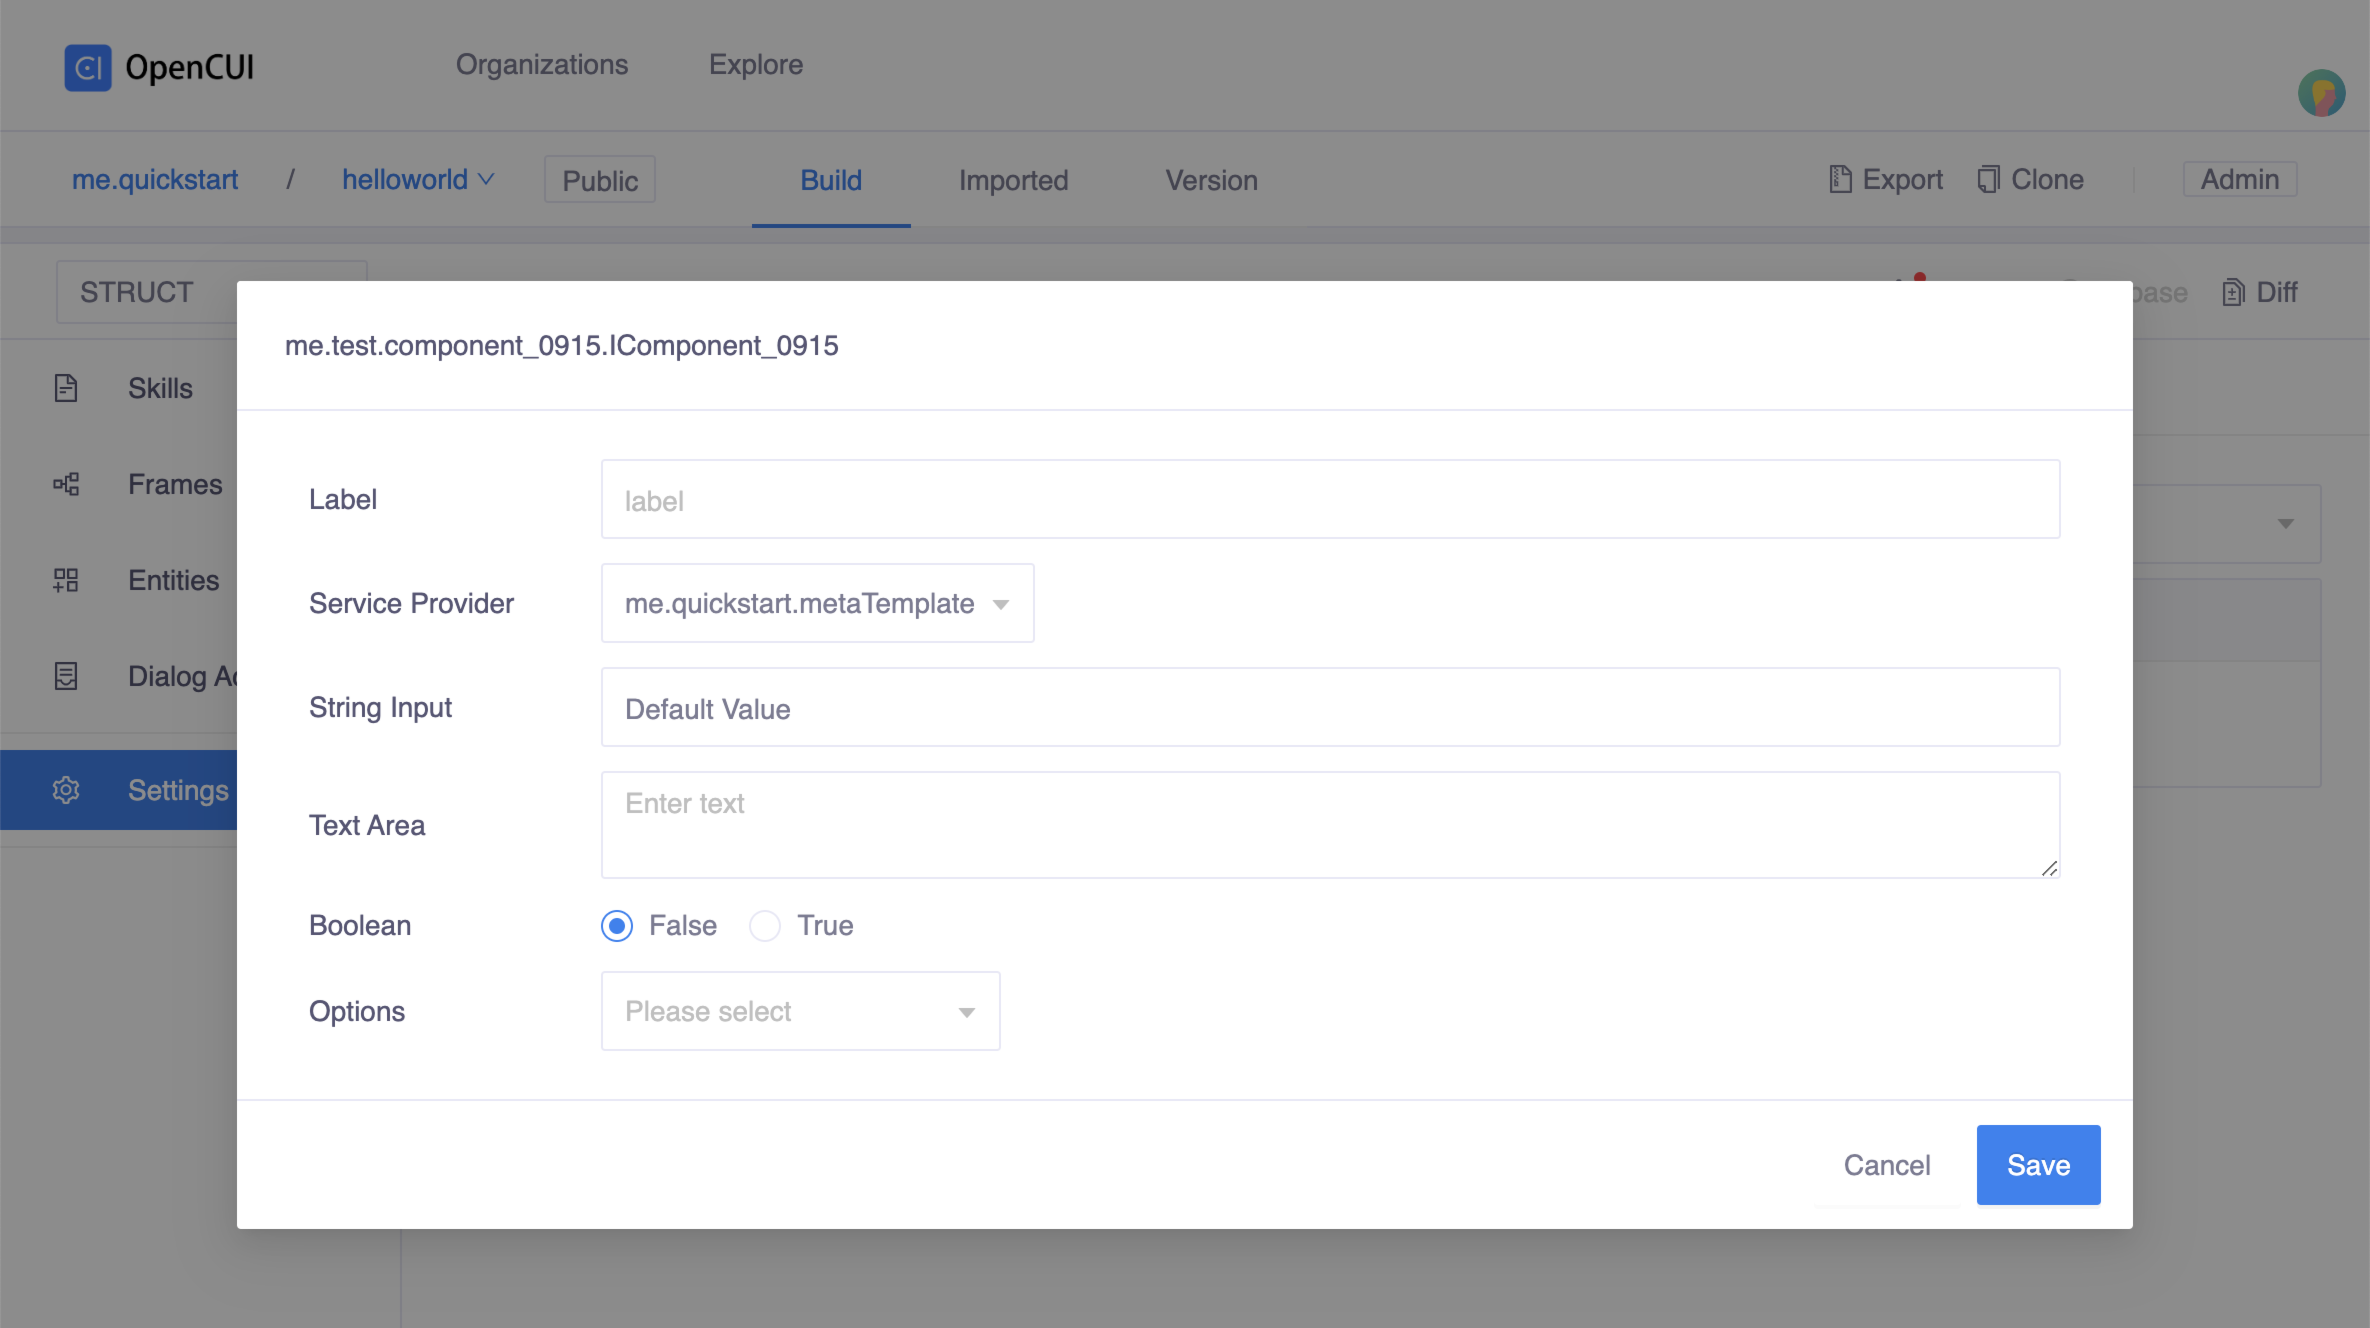
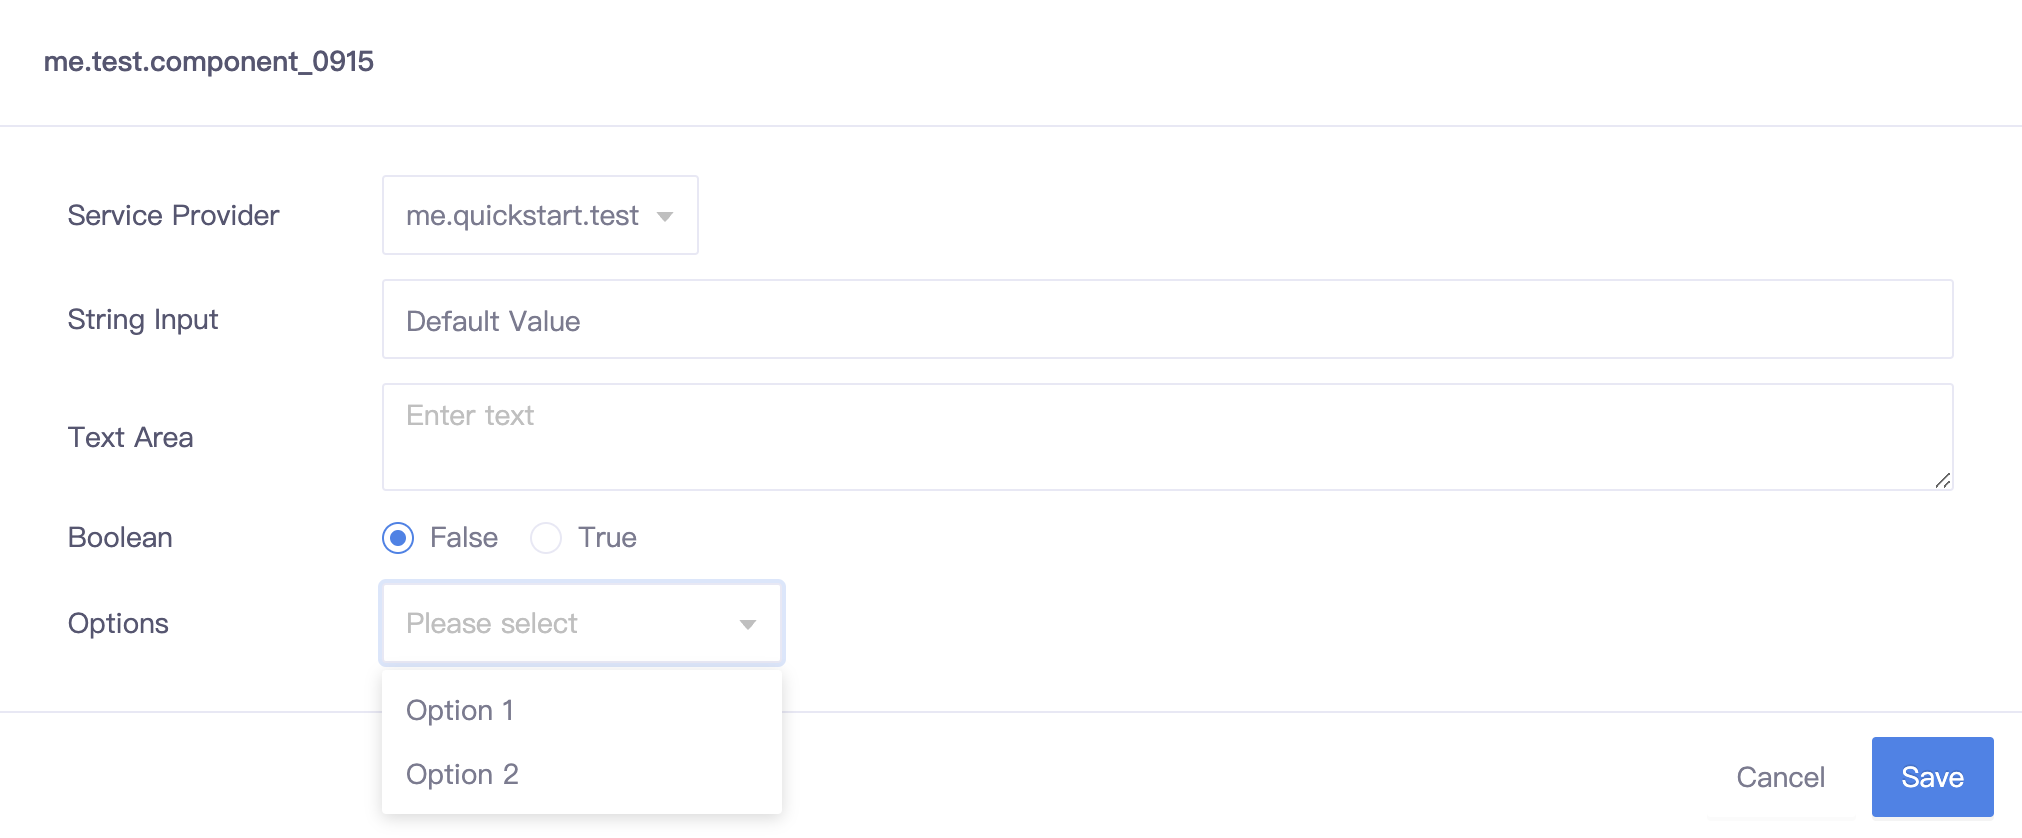
This example shows how a native provider can be configured by using text input, selection and boolean component, while wiring provider to service in chatbot.
[
  {
    "key": "key1",
    "label": "String Input",
    "type": "String",
    "placeholder": "Enter string input",
    "default_value": "Default Value"
  },
  {
    "key": "key2",
    "label": "Text Area",
    "type": "Text",
    "placeholder": "Enter text"
  },
  {
    "key": "key3",
    "label": "Boolean",
    "type": "Boolean",
    "default_value": "true"
  },
  {
    "key": "key4",
    "label": "Options",
    "placeholder": "Please select",
    "default_value": "value1",
    "options": [
      {
        "value": "value1",
        "label": "Option 1"
      },
      {
        "value": "value2",
        "label": "Option 2"
      }
    ]
  }
]
This code will generate the configuration information forms like the screenshot below:
Implementation
Implementation is the dependency info for linking implementation source code. The format of implementation should be group:project:version. Normally, the group and version field can be found in the build.gradle file of the implementation project:
group: group in the build.gradle file of your project. For example, in helloworld extension, it isio.opencui.extensions.project: the subdirectory name of this project.version: version in the build.gradle file of your project. For example, in helloworld extension, it is1.0-SNAPSHOT.
Therefore, the Implementation should look like io.opencui.extensions:helloworld:1.0-SNAPSHOT. For more information about helloworld extension, see Quickstart with Helloworld .
Wire and configure
After a native provider is registered on platform, anyone can use it by wiring the implementation to its interface in chatbot's integration and configure it. To wire and configure native provider, you can follow these steps below:
Declare service interface. Click into the service component implemented by the native provider you will use, and import it into your chatbot.
Wire native provider to its service interface. Switch to your chatbot. Heading to Settings page, in Integrations tab, select the service interface you just imported and the native provider that implements it.
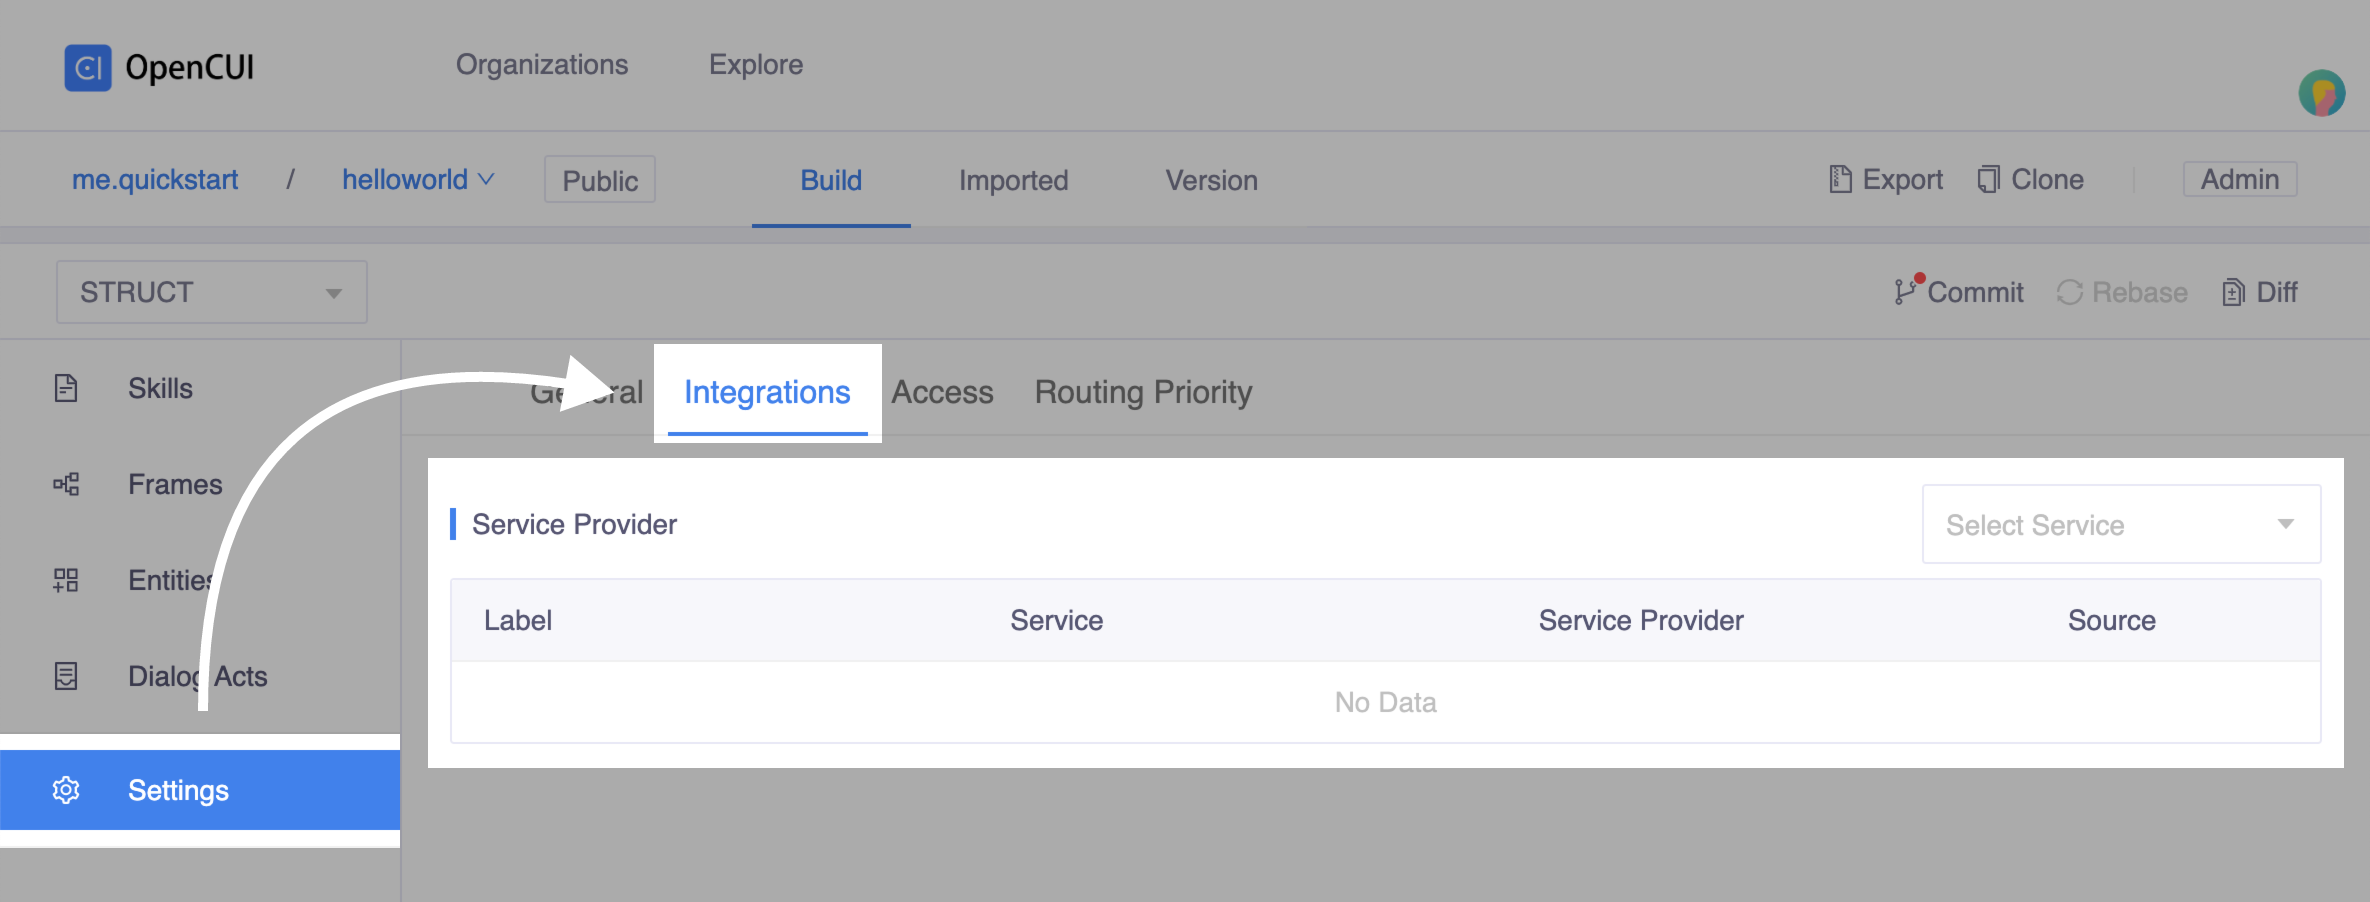
Configure the integration. Finish the configuration form and save. Don't forget to merge your latest changes to master.