Testing
Motivation
To test your chatbot, you can use built-in Debug tool to uncover bugs and prevent regressions. When entering user input, there are two methods:
- Directly enter it as either text or JSON data. This method is useful for testing individual steps or simple logic flows.
- Create and execute a test case to automate inputs. This method is ideal for testing more complex or multi-step processes, allowing you to easily repeat tests and analyze results.
Structure input
When interacting with Debug, you can provide user input as text like "Get me two tickets for Star Wars", or a json format represents the same semantics which is used to describe filling for some data structure or provide values for its slots.
OpenCUI dialog engine can be interacted directly in Frame Event in its json format, which allows for easier bug fixes on the interaction logic by separating the dialog understanding issues.
For example, the user utterance Get me two tickets for Star Wars can be encoded as the following JSON structure:
[
  {
    "type": "SellTicket",
    "packageName": "me.test.movieTheater",
    "slots": [
      {
        "value": "\"starwars\"",
        "attribute": "movie",
        "type": "me.test.movieTheater.Movie"
      },
      {
        "value": "2",
        "attribute": "number",
        "type": "kotlin.Int"
      },
    ]
  }
]
In Debug, you can input JSON structures in the Structure input field both before and after connecting.
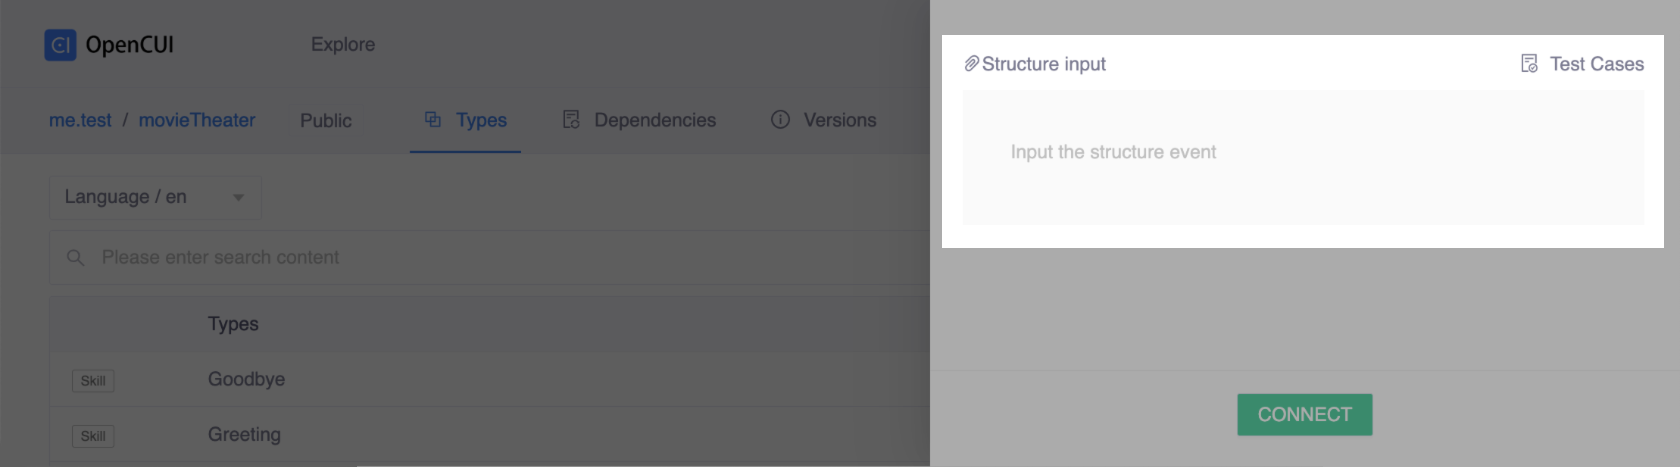 Before connecting
 After connecting
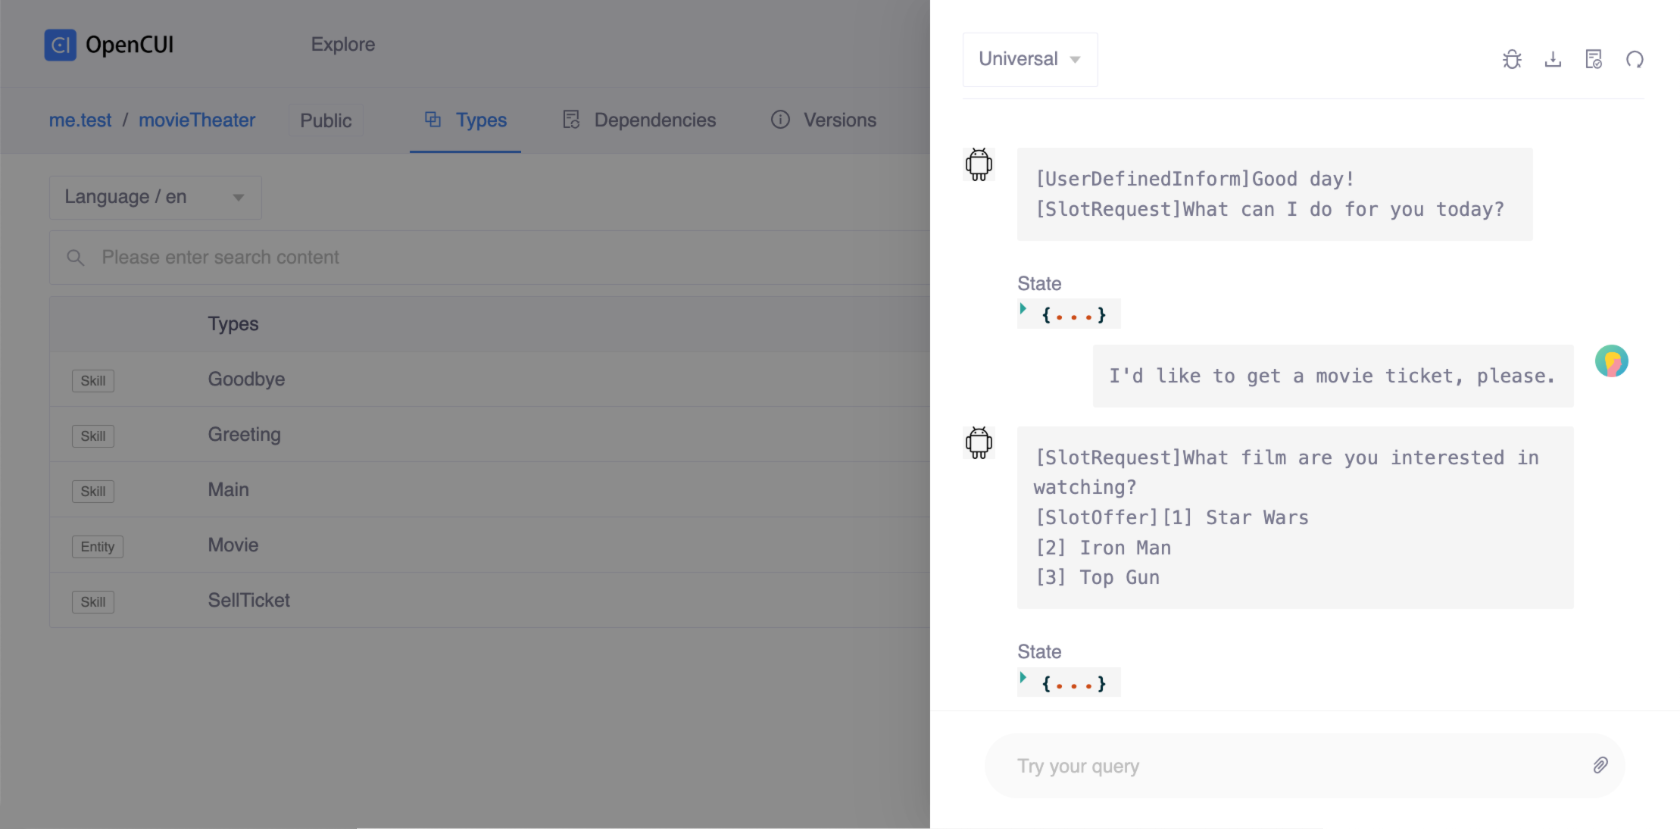
For instance, if you input a JSON structure after connecting, the conversation will be displayed in a view similar to this screenshot:

Test cases
The goal of golden test cases is to help you verify that the modifications made to your chatbot did not modify its behavior in unwanted or undesirable ways. In other words, test case execution verifies that chatbot responses have not changed for the same inputs.
To create a test case, you should simulate the path of the conversation you want to save in Debug and provide a test case display name. To access saved test cases in the Debug area, click Test cases located in the upper-right corner of the panel. These elements allow you to access and view saved tests before and after establishing a connection.
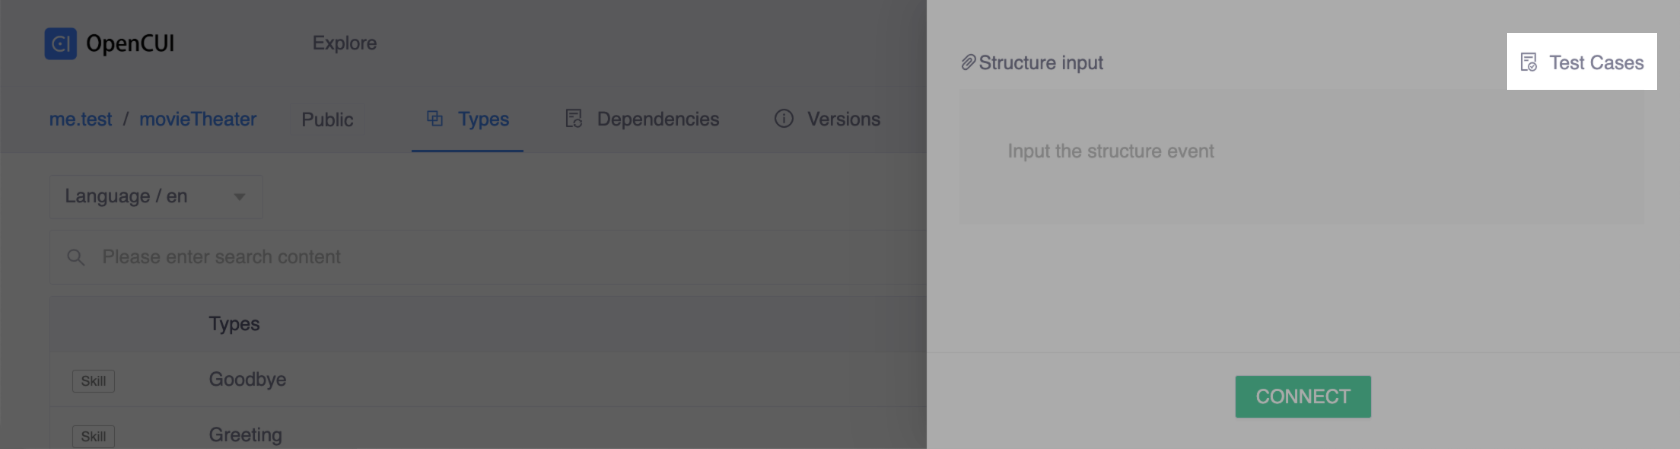 Before connecting
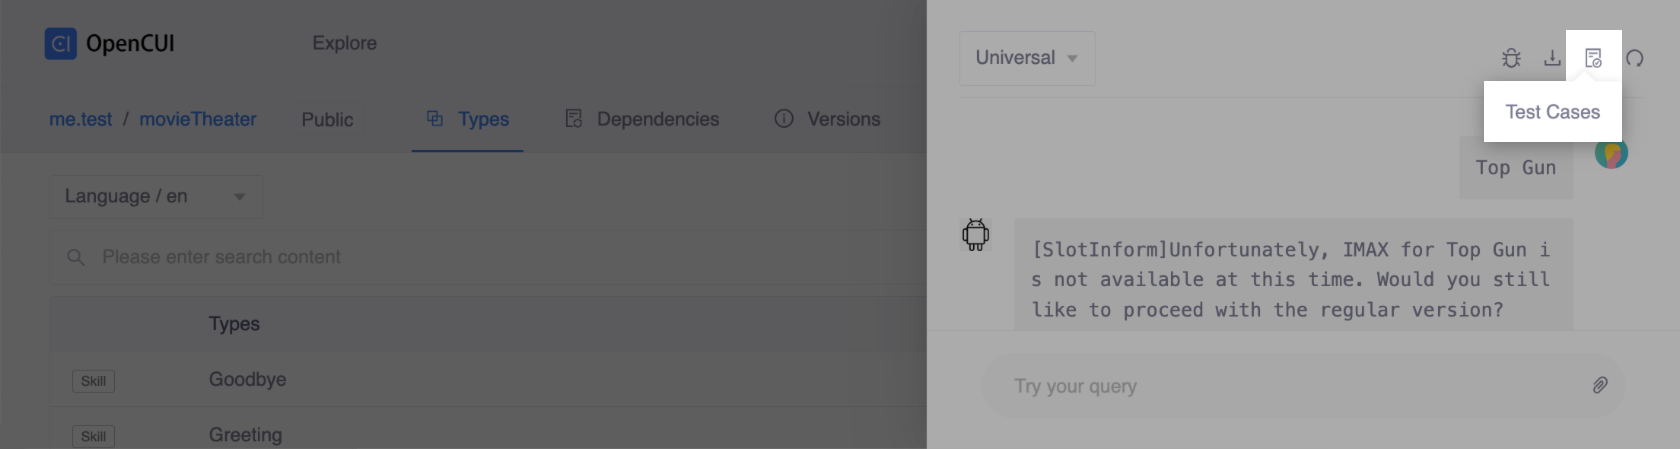 After connecting
The test cases list will appear and can be viewed for either situation.
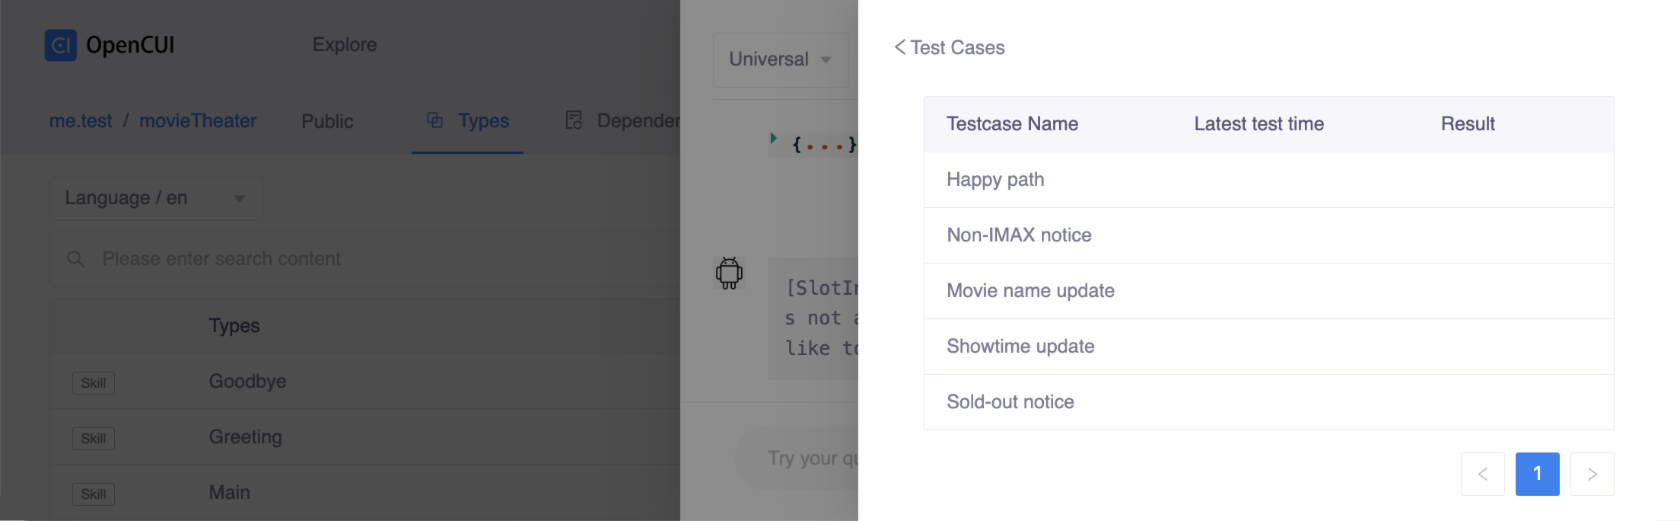
To run the test case, you can select the one you want to run. The test engine will check the following types of data turn by turn to evaluate the test result:
- Test will Pass when the actual output is the expected output.
- Test will Fail when the actual output does not match the contents of the golden test case. You then need to figure out whether this is a bug or an intentional change.
How to use
When using Debug, it is important to commit your chatbot changes in both the structure view and language view. Only the declaration that you have committed will be tested in debug, so committing regularly ensures that you are testing the latest version of your chatbot.
To commit your changes made in the structure view and make them available in the language view, click Propagate. To commit changes in the language view, simply click Commit.
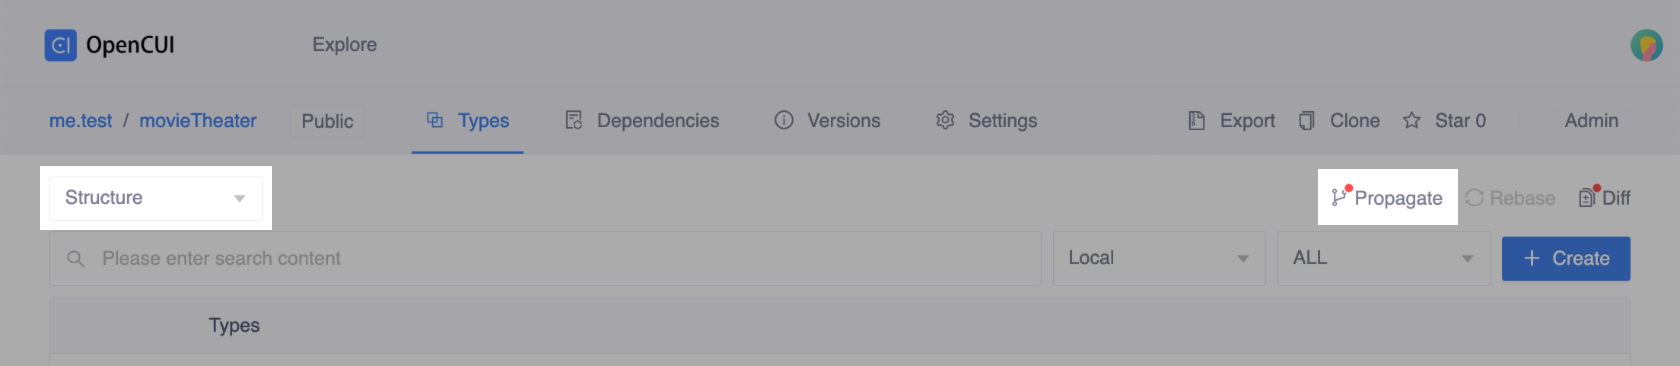 Click Propagate in the structure view
 Click Commit in the language view
The instructions below show you how to test your bot.
Debug
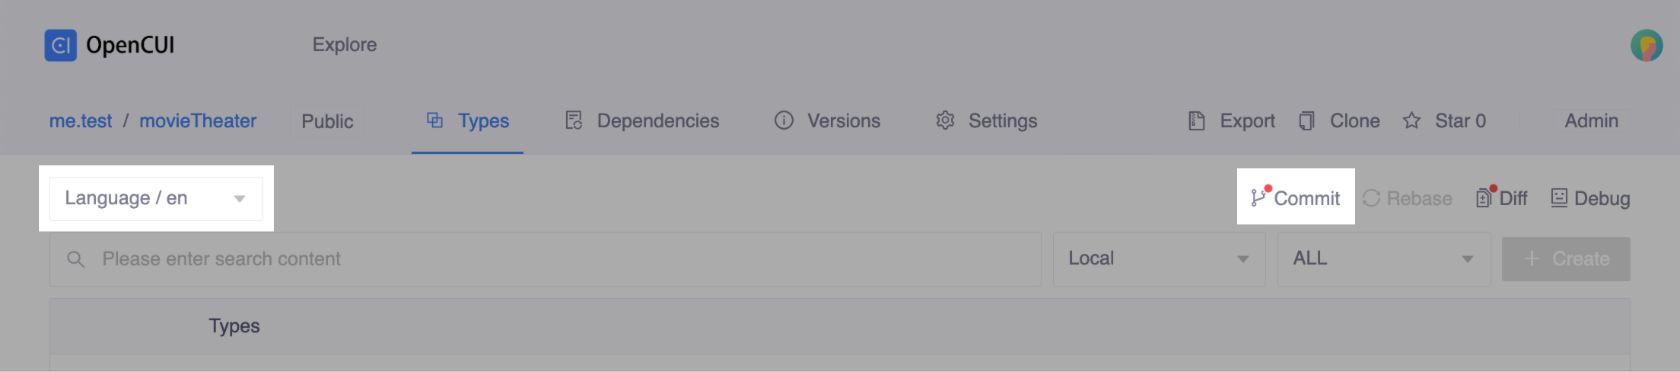
To test a specific language chatbot, navigate to the corresponding language view, and click Commit in the upper-right corner of the Types area.
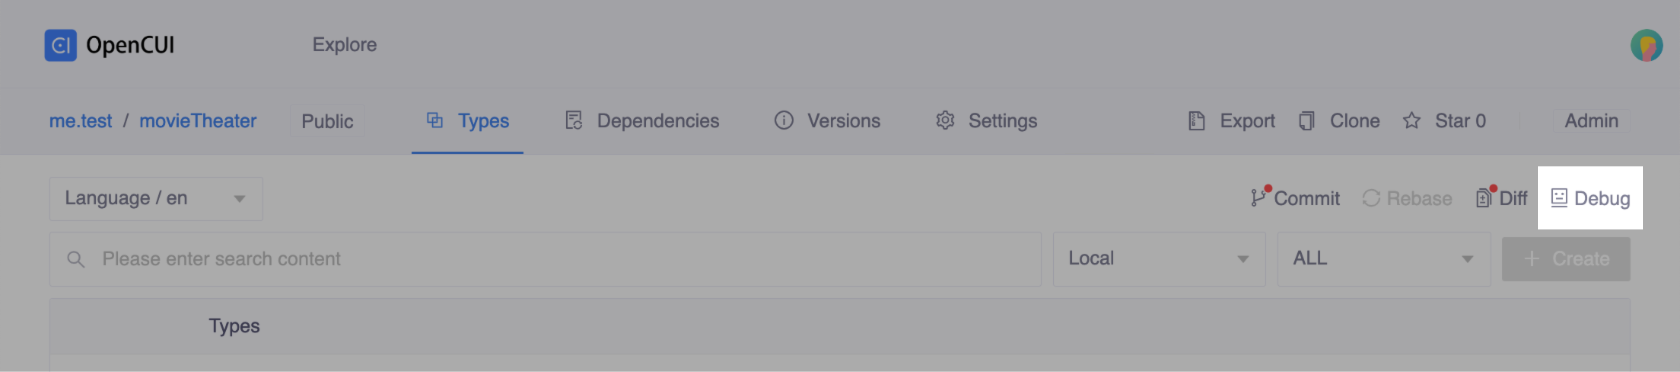
Click Debug in the upper-right corner of the Types area, then the test field will slide out.
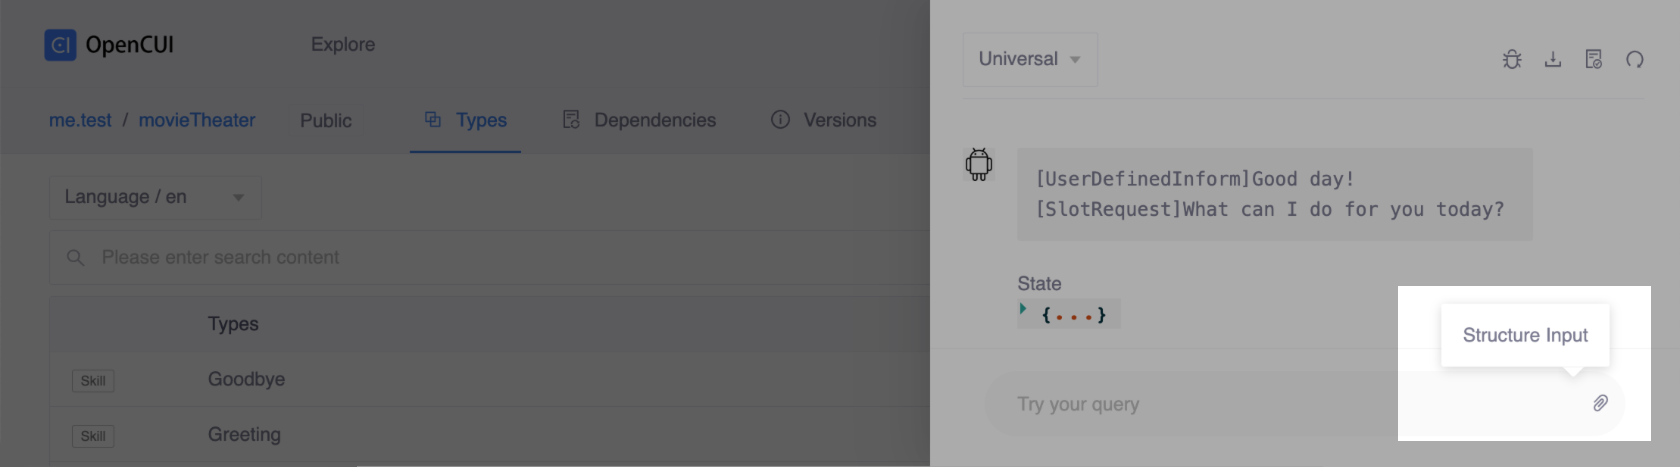
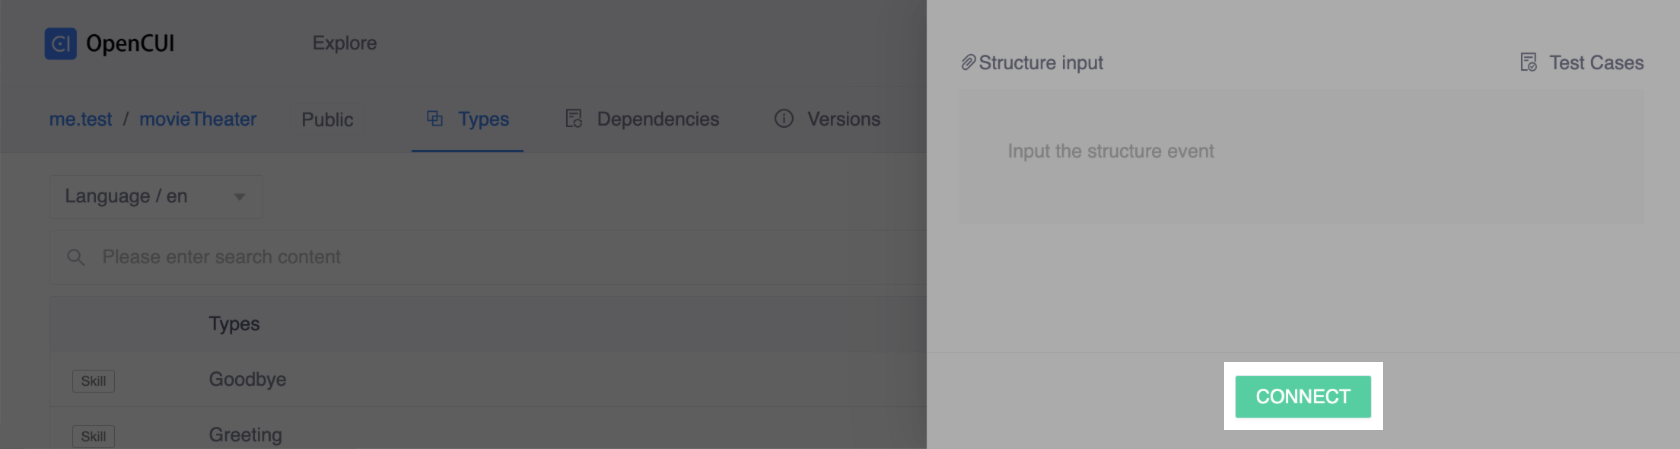
Enter Structure Input if needed and click Connect. In this case, we just need to click Connect.
Chat with the chatbot to create a conversation that covers the functionality you want to test.
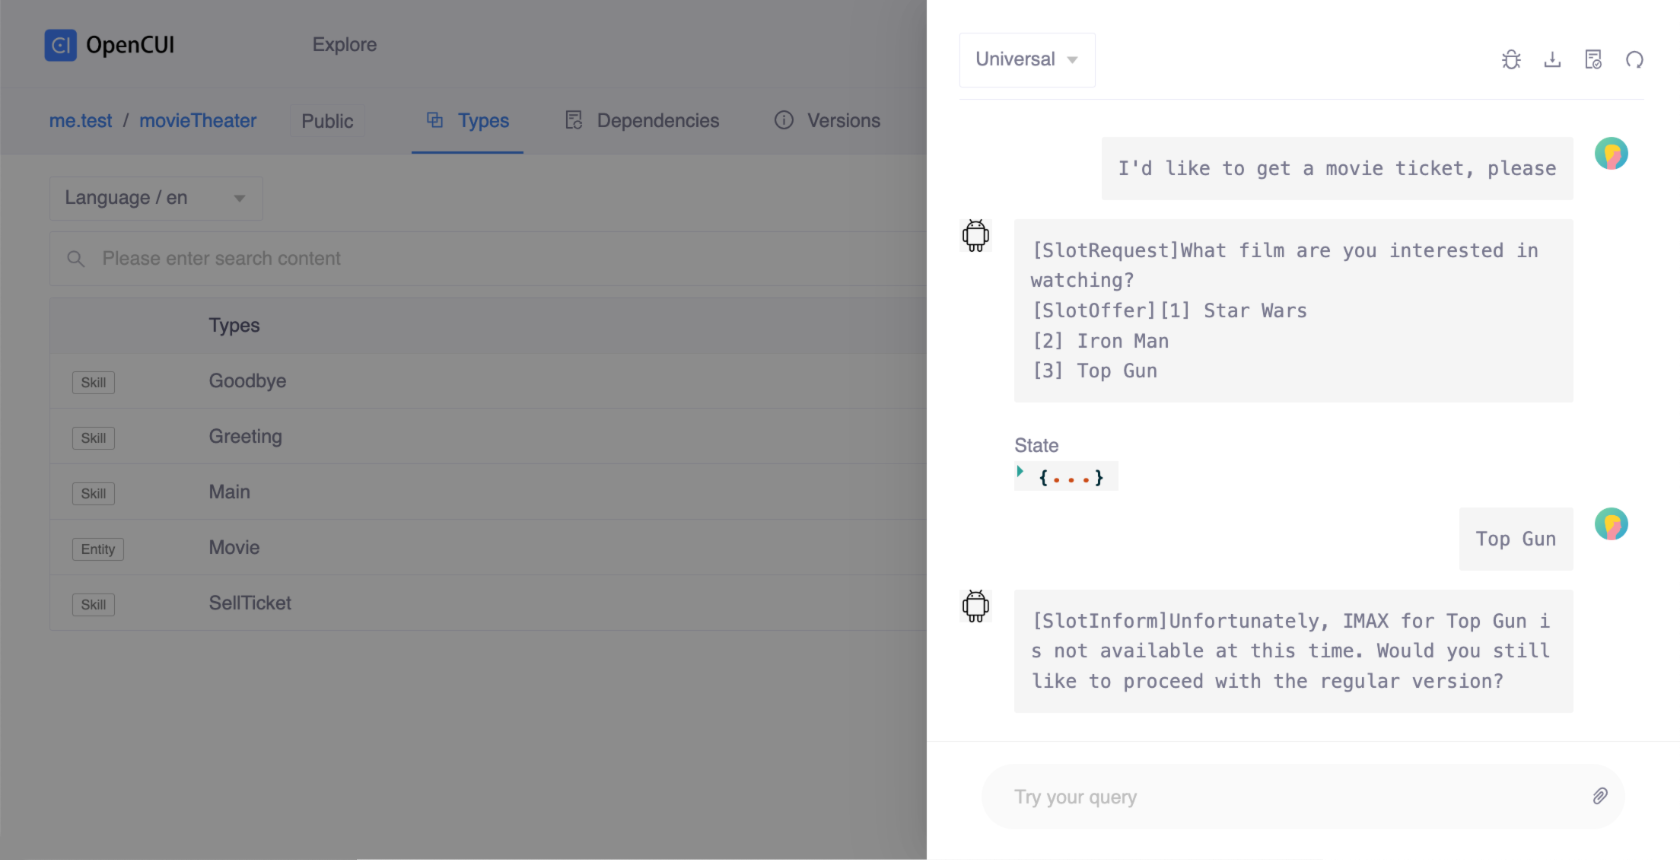
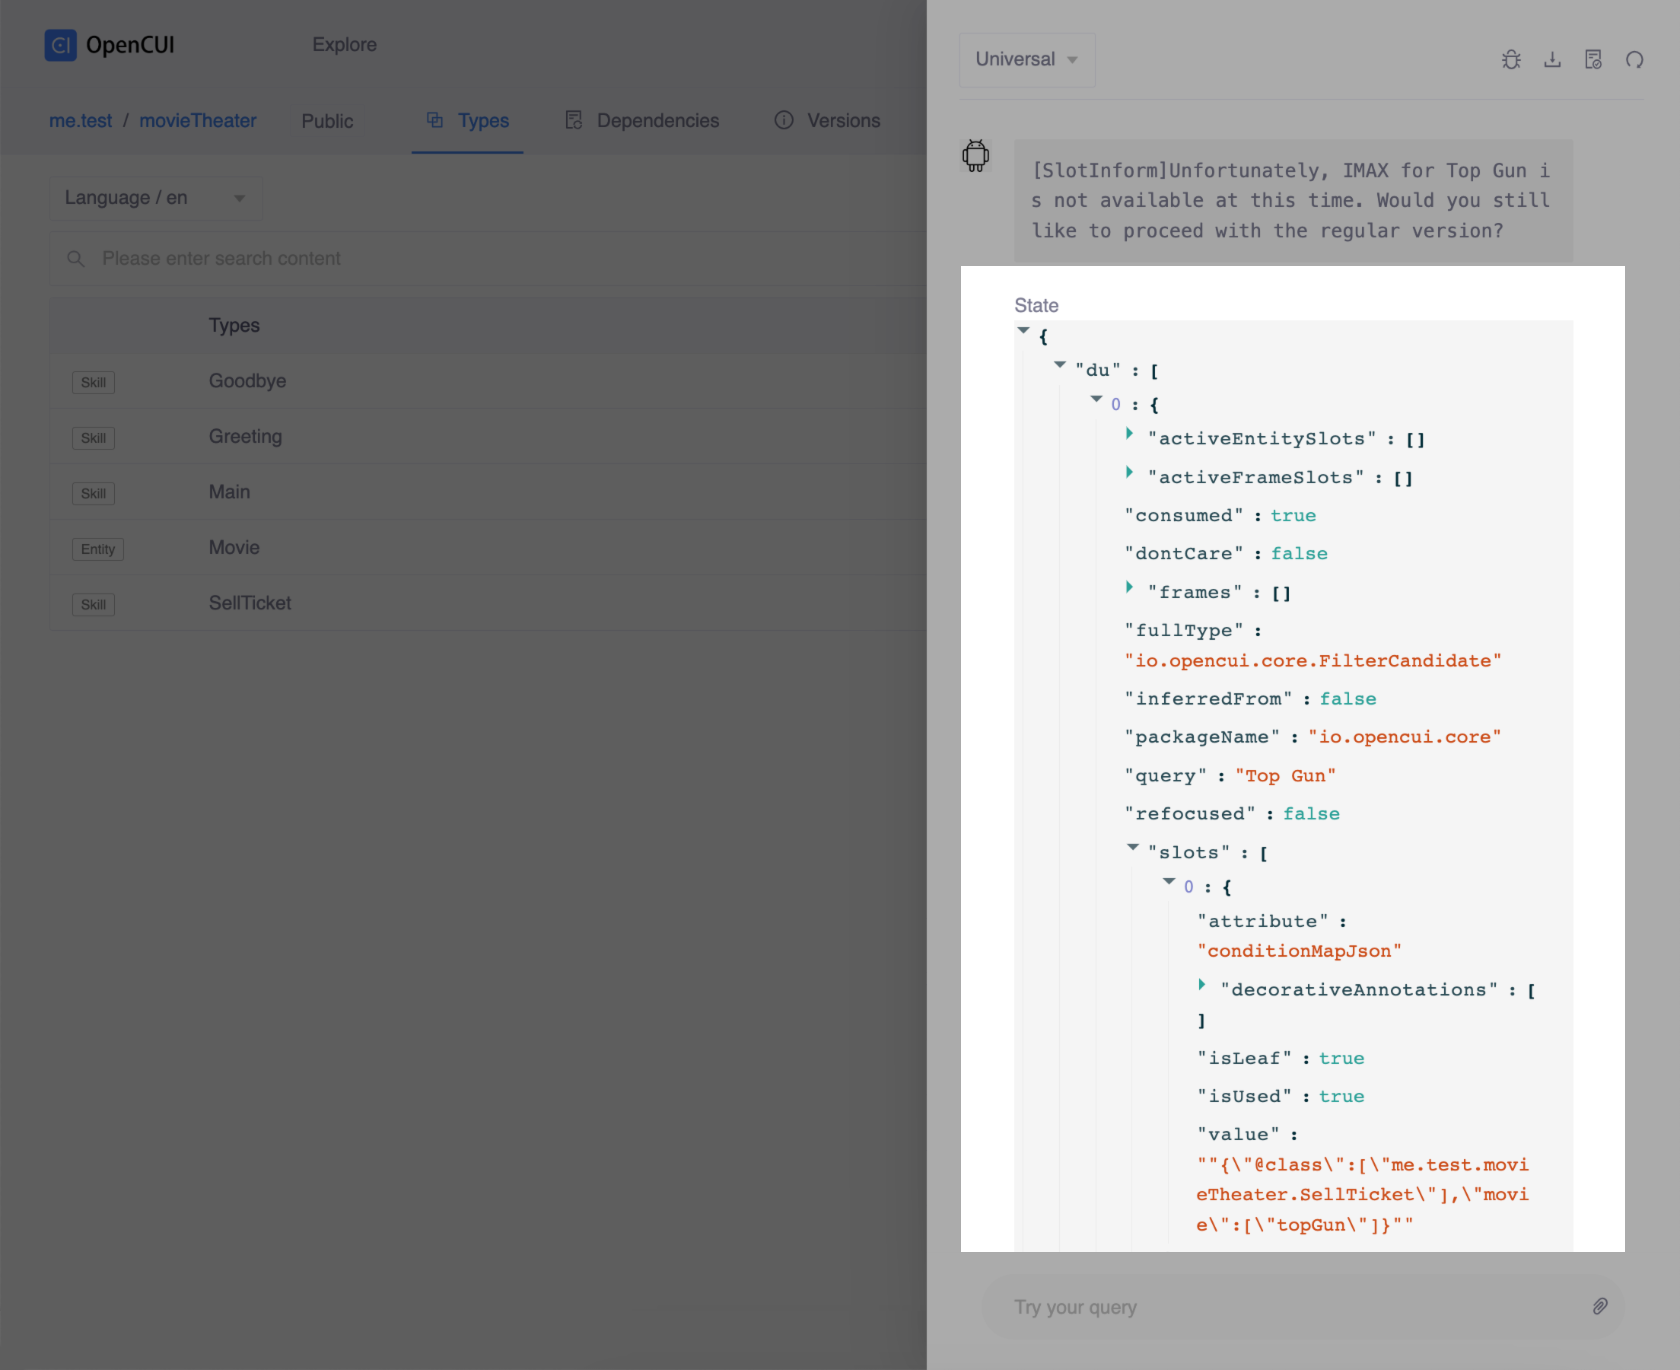
Verify correct values for the triggered type, the response, and the session parameters with State.
View log
For coders, you can inspect the detailed log by clicking the "View log" icon. This will show you a log of all the interactions that have taken place between your chatbot and the user. This can be helpful for troubleshooting problems.
Reset session
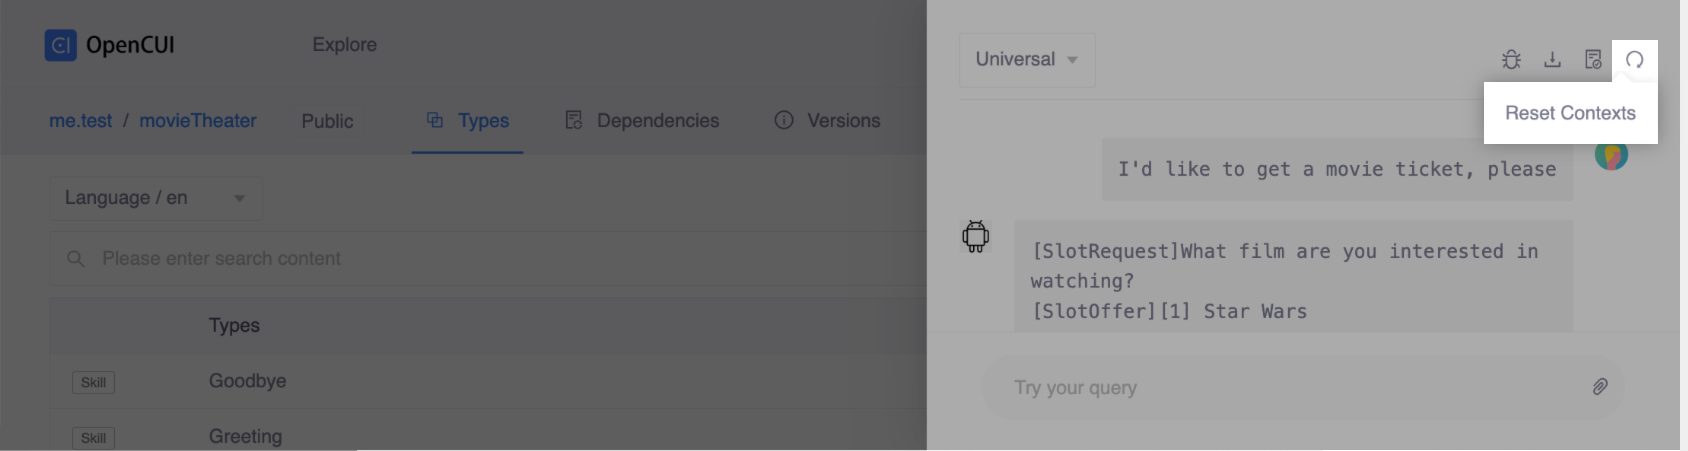
The replies that the chatbot generates for user input depend on the conversation history. Sometimes, you need to have a clean start to try something new. You can restart the testing session by clicking the "Reset contexts" icon.
Create a test case
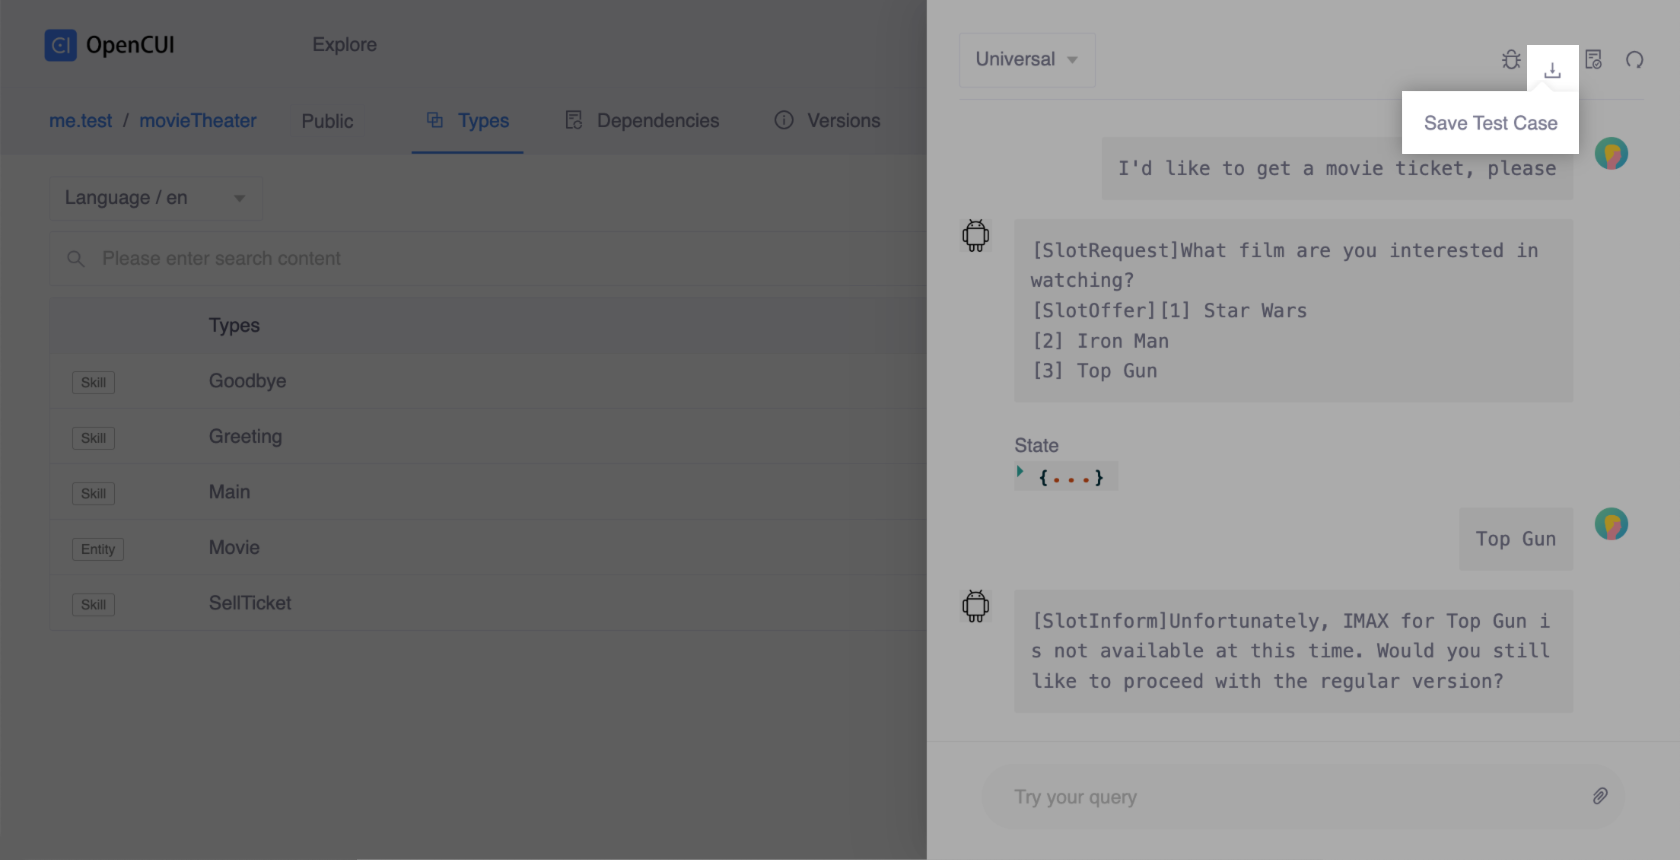
You can save test cases by clicking the "Save test case" icon. This will save the current interaction as a test case. You can then use this test case to reproduce the interaction later.
Click the Save Test Case icon in the topbar to save a conversation as a test case.
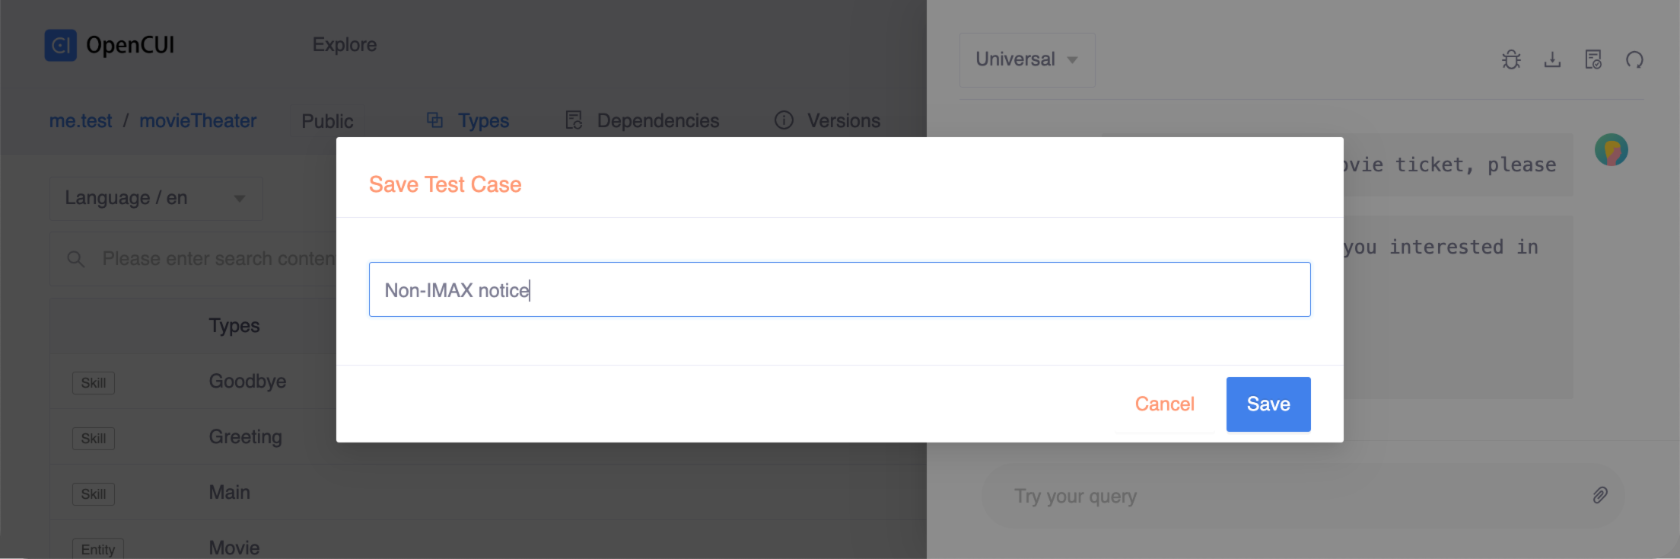
Enter a test case display name, and click Save to save the test case.
Click the Reset Contexts icon in the topbar to restart a conversation to test.
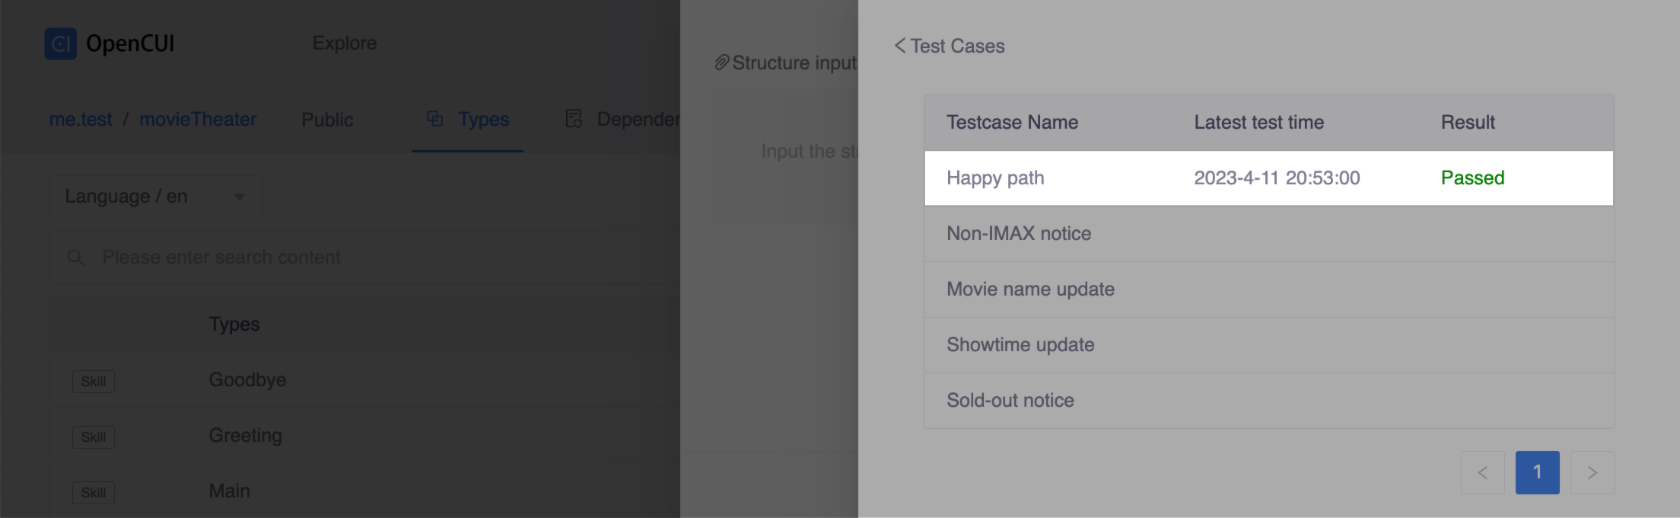
View test cases
Clicking the "Test cases" icon lets you compare your chatbot's behavior against expected results and identify errors that require attention.
Run test case
Click Test cases located in the upper-right corner of the Debug panel.
Before connectingAfter connectingSelect the test cases you want to run, and click Run.
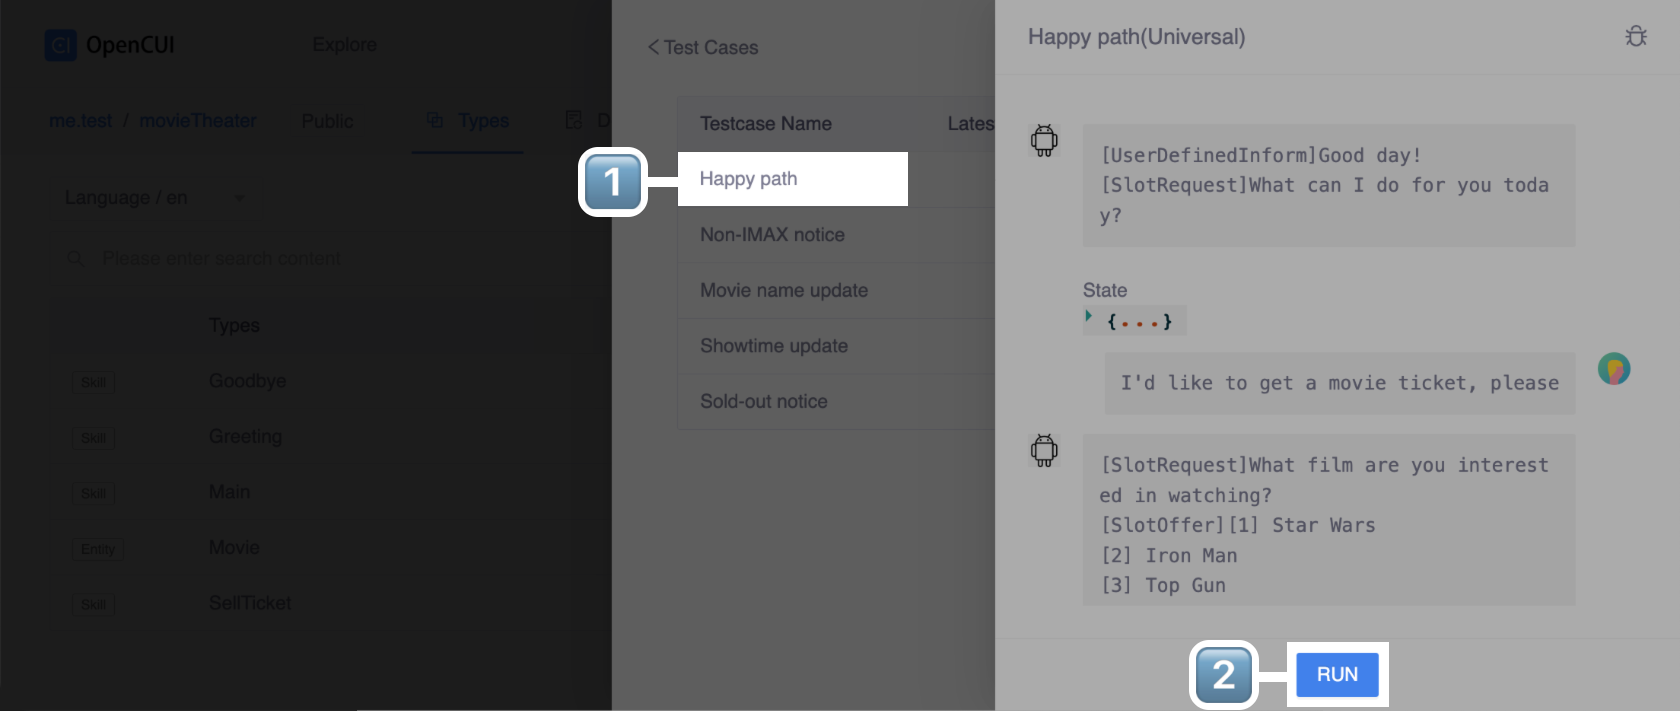
The test starts running and the result will be updated when it is completed.